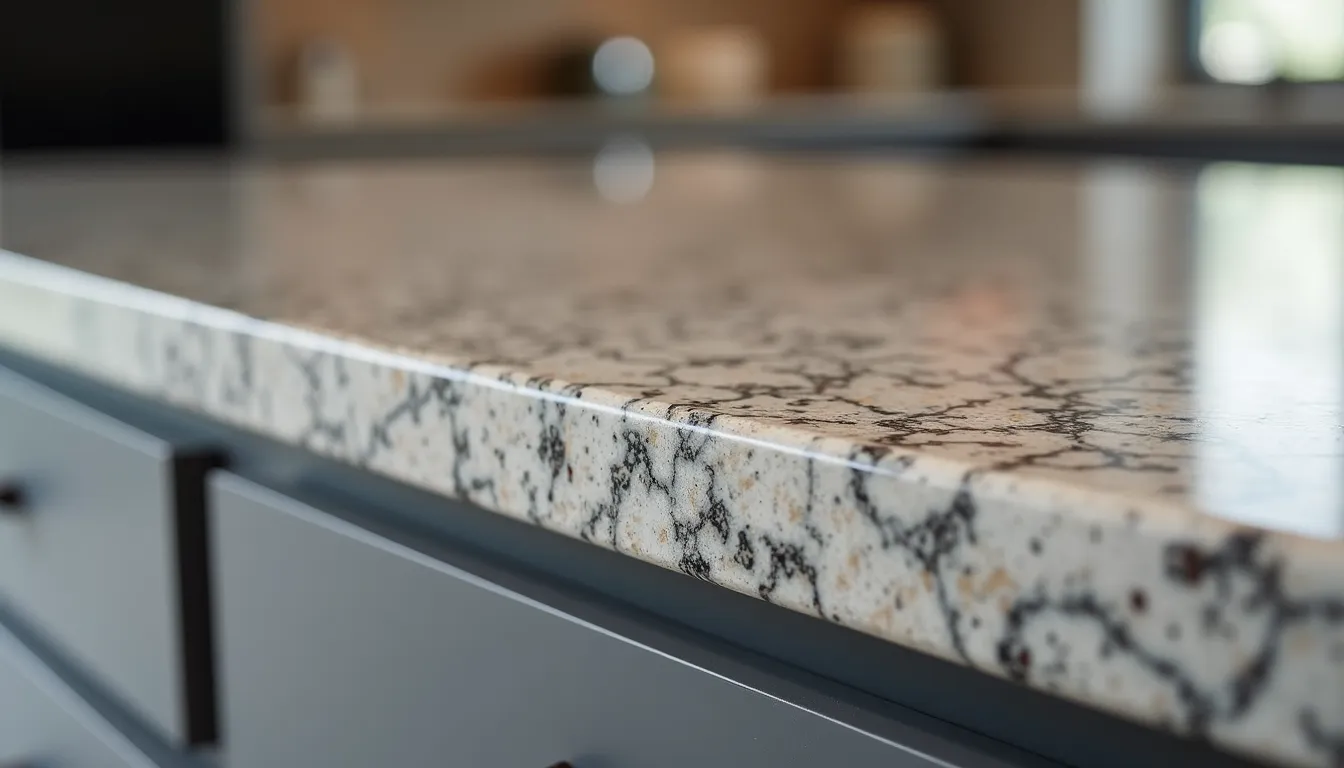

A countertop seam is the joint where two separate pieces of countertop meet. Seams are needed when a run is longer than the slab it’s cut from, when an L or U-shaped layout won’t fit on one slab, or when a single piece would be too large or heavy to get into the room safely. Many kitchens have at least one.
A good seam sits on solid, level support, away from the narrow strips of stone around a sink or cooktop, in a spot where it draws as little attention as possible. Done well, it’s tight, flush and filled with colour-matched adhesive, so it reads as a fine line rather than a gap. You’ll usually still see it if you look for it, but it shouldn’t catch your eye from across the room or catch a fingertip as you wipe the counter.
Why countertops need seams
Slabs come in set sizes
Every countertop starts as a slab, and slab sizes vary by material, brand and product. If your perimeter run or island is longer than the slab, it has to be made from two pieces, or from a larger slab where one is available. Large-format slabs, common in porcelain and offered in some quartz lines, can reduce the number of seams, but they aren’t available in every colour.
Layout shape
An L-shaped or U-shaped kitchen rarely fits on a slab as one piece. Even when the total area would fit, a single L-shaped piece wastes material and is fragile at the inside corner while it’s being moved. Splitting the layout into pieces lets us use the slab efficiently and handle each piece safely.
Getting the pieces into the room
Every piece has to travel from our Kitchener shop to your kitchen. Stairs, tight hallways, basement bars and condo elevators all limit how big a piece can be. Sometimes a seam is added simply so the pieces can be carried in and set without risk of cracking.
Where seams usually go
Seam placement balances appearance, strength and how the pieces fit on the slab. Most fabricators work to a few general rules.
Good places for a seam:
- The inside corner of an L-shaped or U-shaped layout
- Where the countertop changes direction or depth, such as at a peninsula
- Over a cabinet, where the joint has full support from below
- Where it lines up with something else in the room, such as the edge of an appliance
Places to avoid:
- The narrow strip of stone in front of or behind a sink or cooktop, already the weakest part of the top
- Right at the corner of a cut-out
- Over a dishwasher or any opening with no cabinet support beneath
- The middle of an island, if the slab is large enough to avoid it
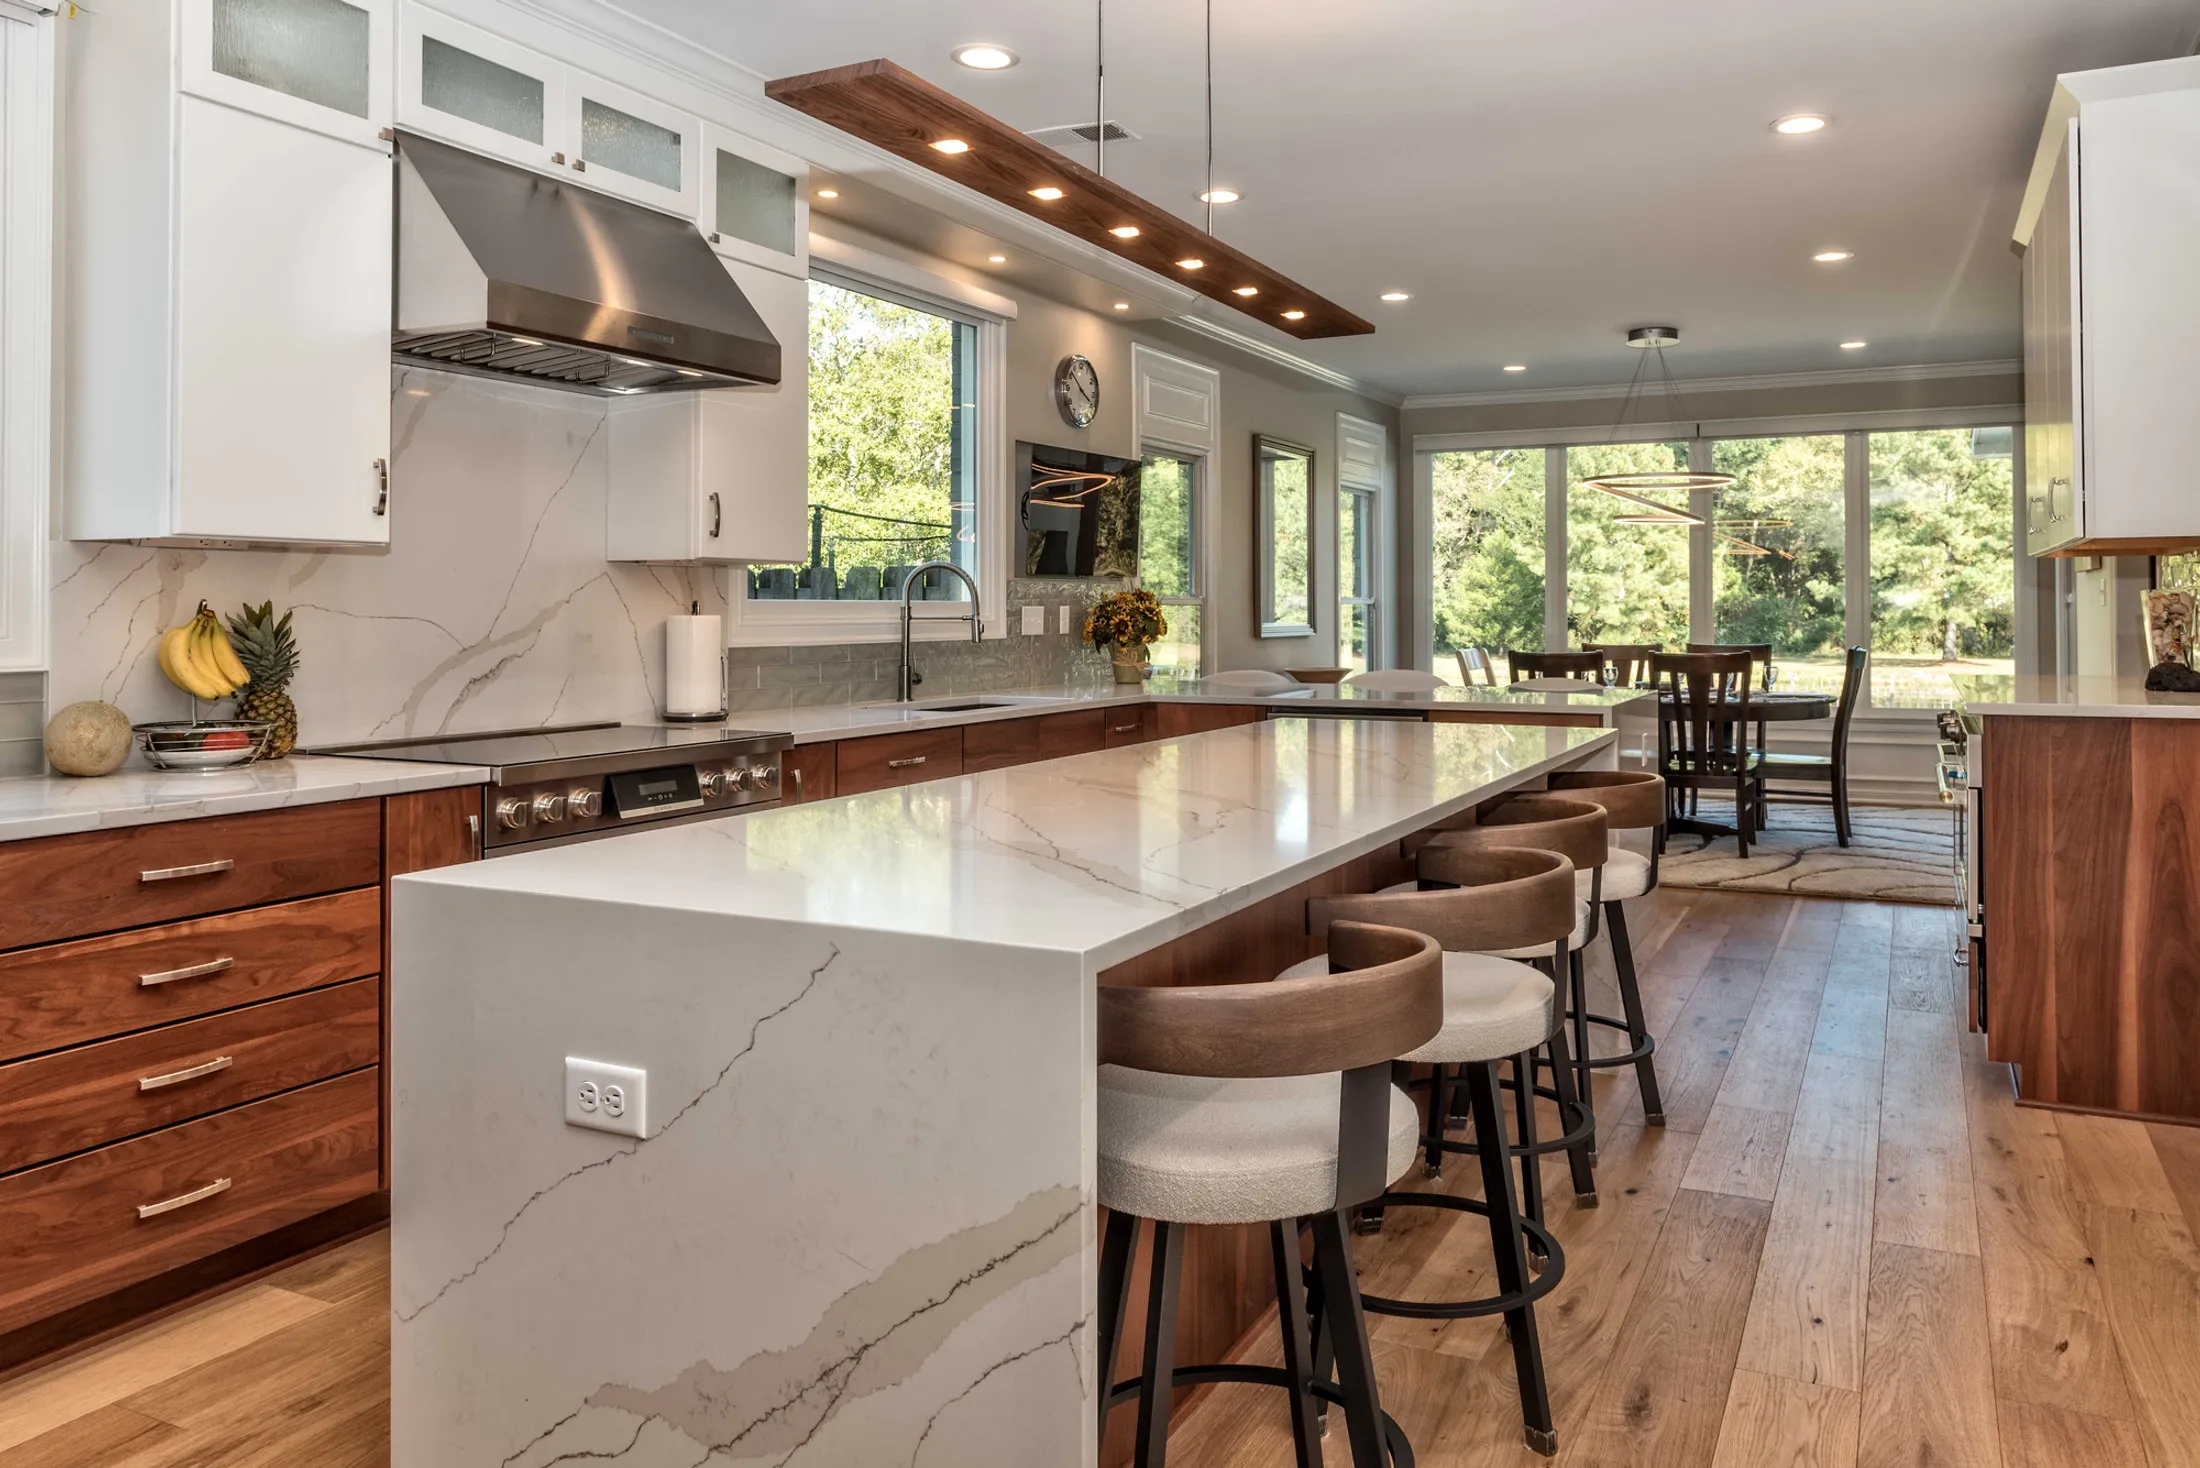
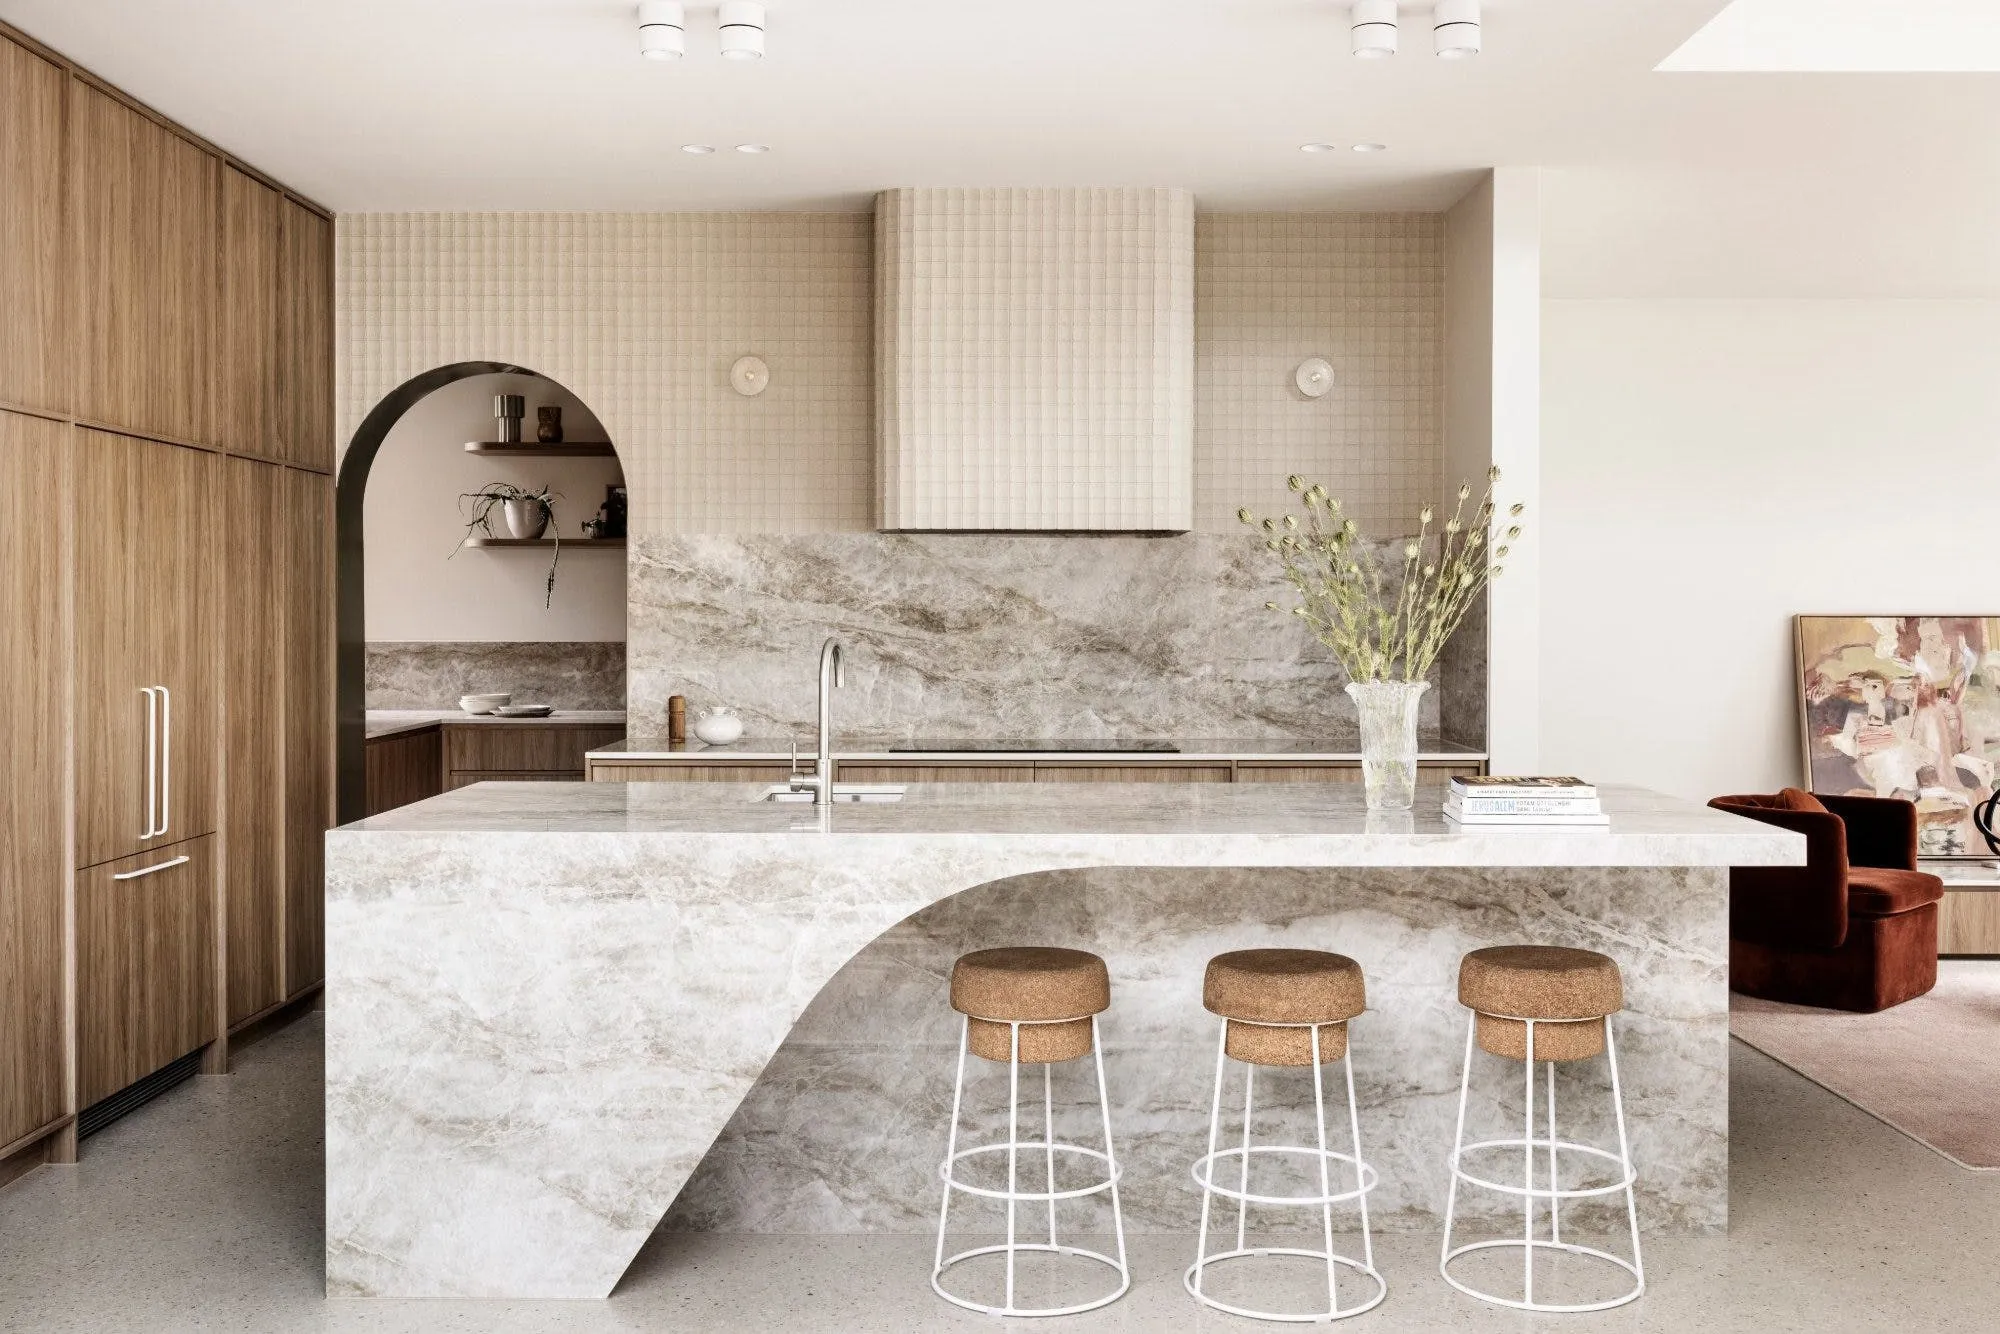
Islands deserve their own note. If an island fits within one slab, most people prefer it without a seam. If it doesn’t, the seam can sometimes be placed where seating or a change in the island’s shape makes it less noticeable. Our guide to choosing a slab at a stone gallery covers the questions to ask at that stage.
How visible will the seam be?
No seam is invisible, but some materials and patterns hide them far better than others.
| Material or pattern | How seams tend to show |
|---|---|
| Granite with lots of movement | Well hidden, since the pattern breaks up the line |
| Speckled quartz | Usually discreet |
| Solid colour quartz | A fine, even line, easiest to see in low, angled light |
| Marble-look quartz or porcelain with long veins | Depends on how well the veins are matched across the joint |
| Laminate | A thin line, usually set at a corner |
Lighting matters too. A seam that’s hard to find in daylight can show when under-cabinet lights skim across the surface.
Seams on veined patterns
Bold veining is where seam planning matters most. With quartz and porcelain, patterns are manufactured and fairly predictable, so pieces can often be laid out so the veins carry across the joint. With natural granite and quartzite, every slab is different and veins rarely line up perfectly, so a good layout puts the seam where the pattern is quiet, or where a change in direction is expected anyway.
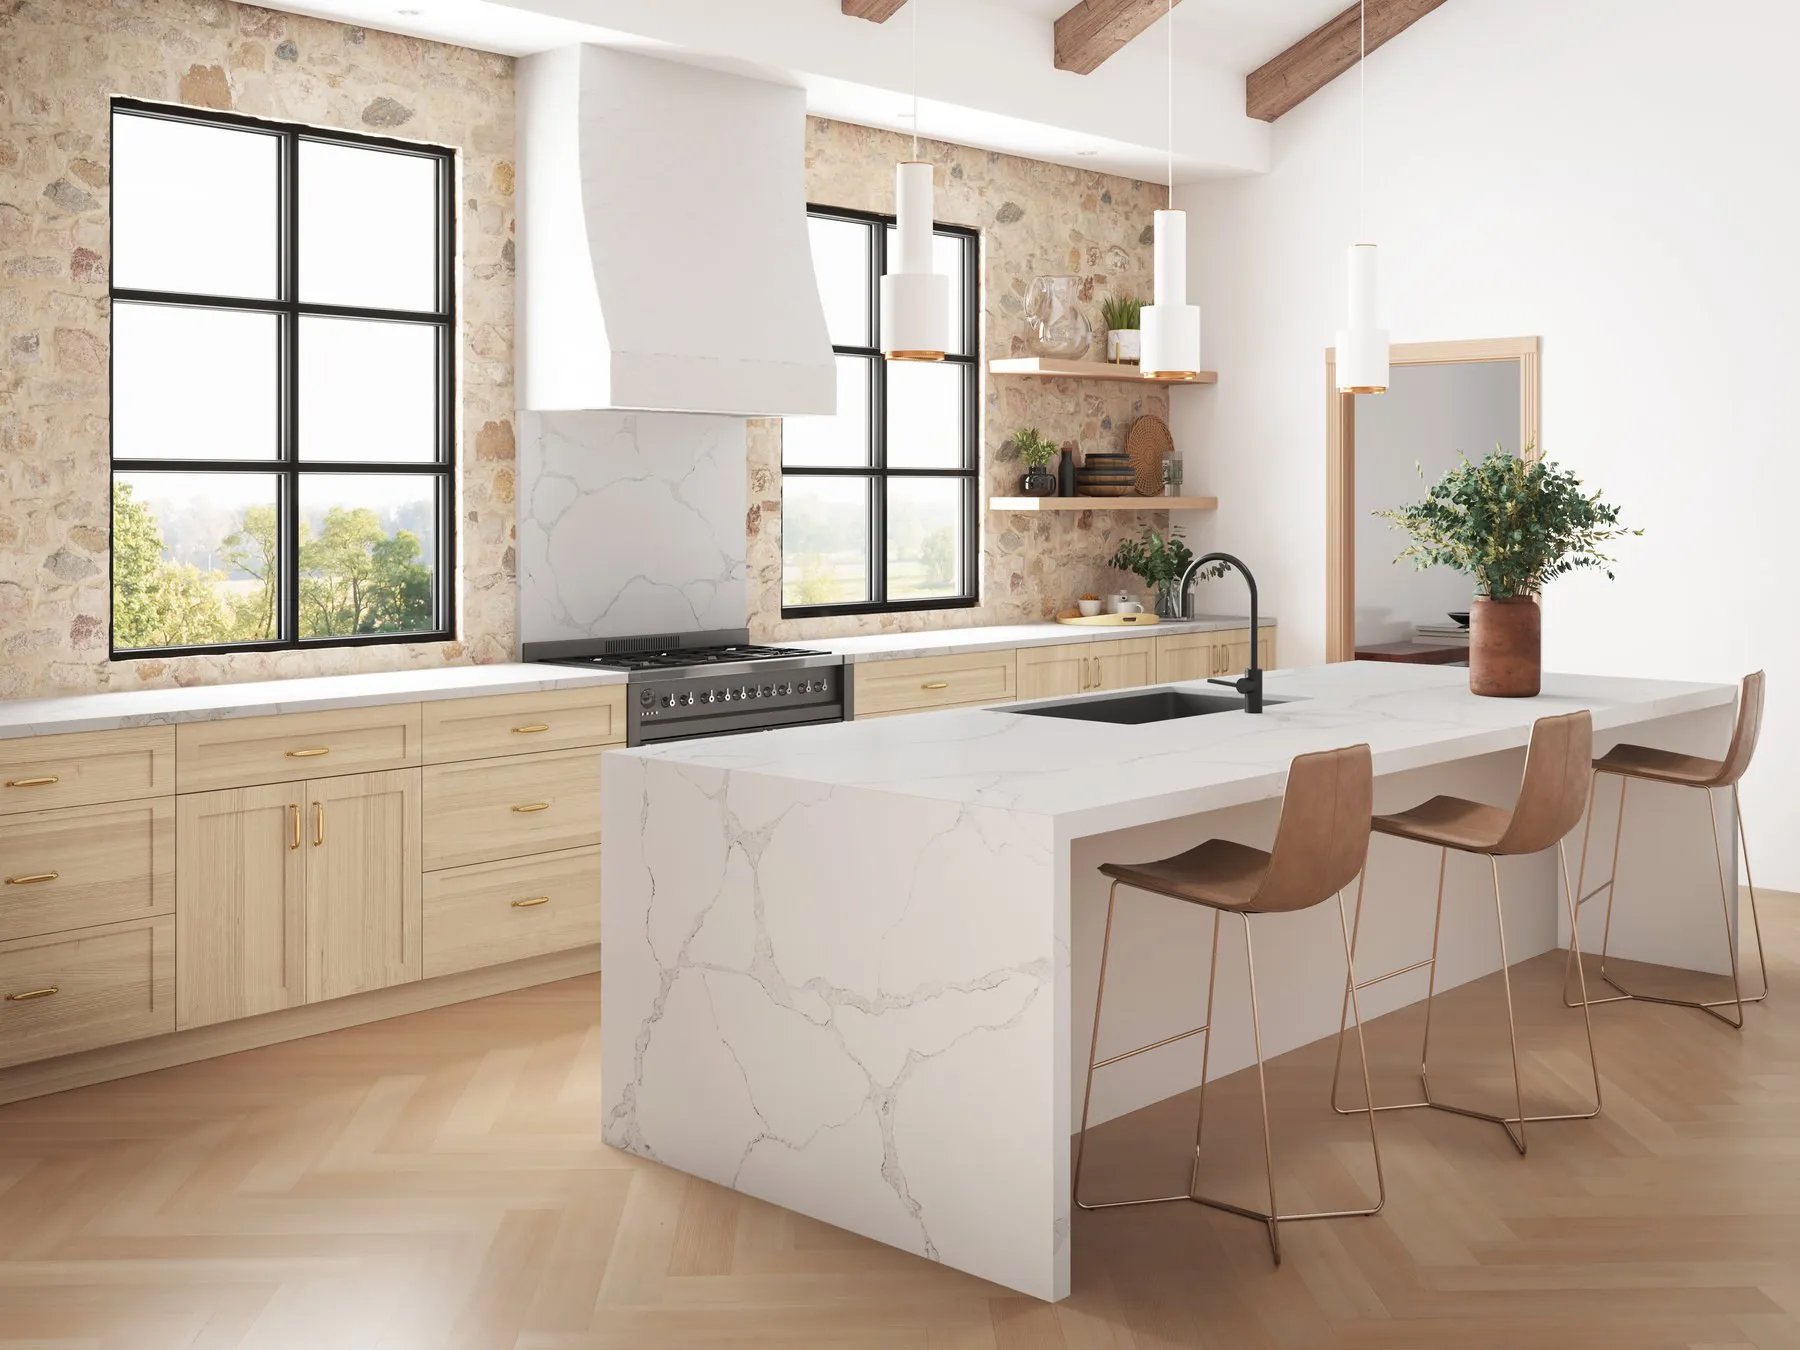
The same thinking applies to waterfall ends and stone-clad walls, where joints can be lined up with corners and openings so they look planned. Our post on waterfall islands and full-height backsplashes goes into vein matching across a mitre.

How we plan and make seams
Seams are planned long before the slab is cut. At KW Countertop it works like this:
- Templating. We measure your cabinets with precise digital laser templating. During that visit, the technician talks you through where seams will fall. Our guide to preparing for templating and installation explains what to have ready.
- Layout on the slab. Your pieces are laid out on the actual slab, so seams and veining land where they work best and the slab is used efficiently.
- Cutting. Pieces are cut in our own Kitchener facility, including on our BACA Systems Robo SawJet robotic saw, so the edges that meet at a seam are straight and true.
- Installation. Our in-house crews, never subcontractors, set the pieces, draw the seam tight, level the two sides so there’s no lip, and fill the joint with adhesive tinted to match the material.

Laminate seams
Laminate is joined differently. The pieces are pulled together with fasteners from underneath and sealed, and seams are usually placed at corners. Because laminate has a particleboard core, the main thing to watch is water. Standing water left on a laminate seam can seep in and cause swelling, so wipe it up rather than letting it sit.
Support under a seam
A seam is only as good as what’s under it. Both pieces need to sit on level cabinets with solid support at the joint. If one cabinet sits higher than the next, the seam can show a lip, and a seam over an unsupported gap is more likely to crack under load. That’s one reason cabinets should be installed, levelled and fastened before templating. Thickness plays a part as well, which we cover in 2 cm vs 3 cm countertops.
Living with a seam
A properly made seam needs no special care, but a few habits help:
- Wipe spills off the seam rather than letting them sit, especially on laminate
- Don’t stand or kneel on the countertop, and avoid dropping heavy items on the joint
- Use a cutting board instead of chopping across the seam
- Clean it with the same mild soap and water you use on the rest of the counter
After your installation, check the seams in good light and run a fingertip across them. If you notice a lip, a gap or a change in the joint over time, call us. Our after-sales support continues long after the crew leaves.
Questions to ask about seams
Before you approve your layout, ask:
- How many seams will my layout need, and where will they go?
- Could a different slab or product reduce the number of seams?
- How will the pattern line up across each joint?
- Will any seam fall near the sink, cooktop or dishwasher?
For a longer list, see questions to ask a countertop fabricator. The number of pieces and seams also feeds into price, as explained in what sets the price of a new countertop.
Seam placement is part of every layout we template for homeowners in Kitchener, Waterloo, Cambridge and Guelph. To see how a joint might look on the material you like, browse the slabs in our online Stone Gallery, then send us your layout and we’ll talk you through where the seams would fall before anything is cut.