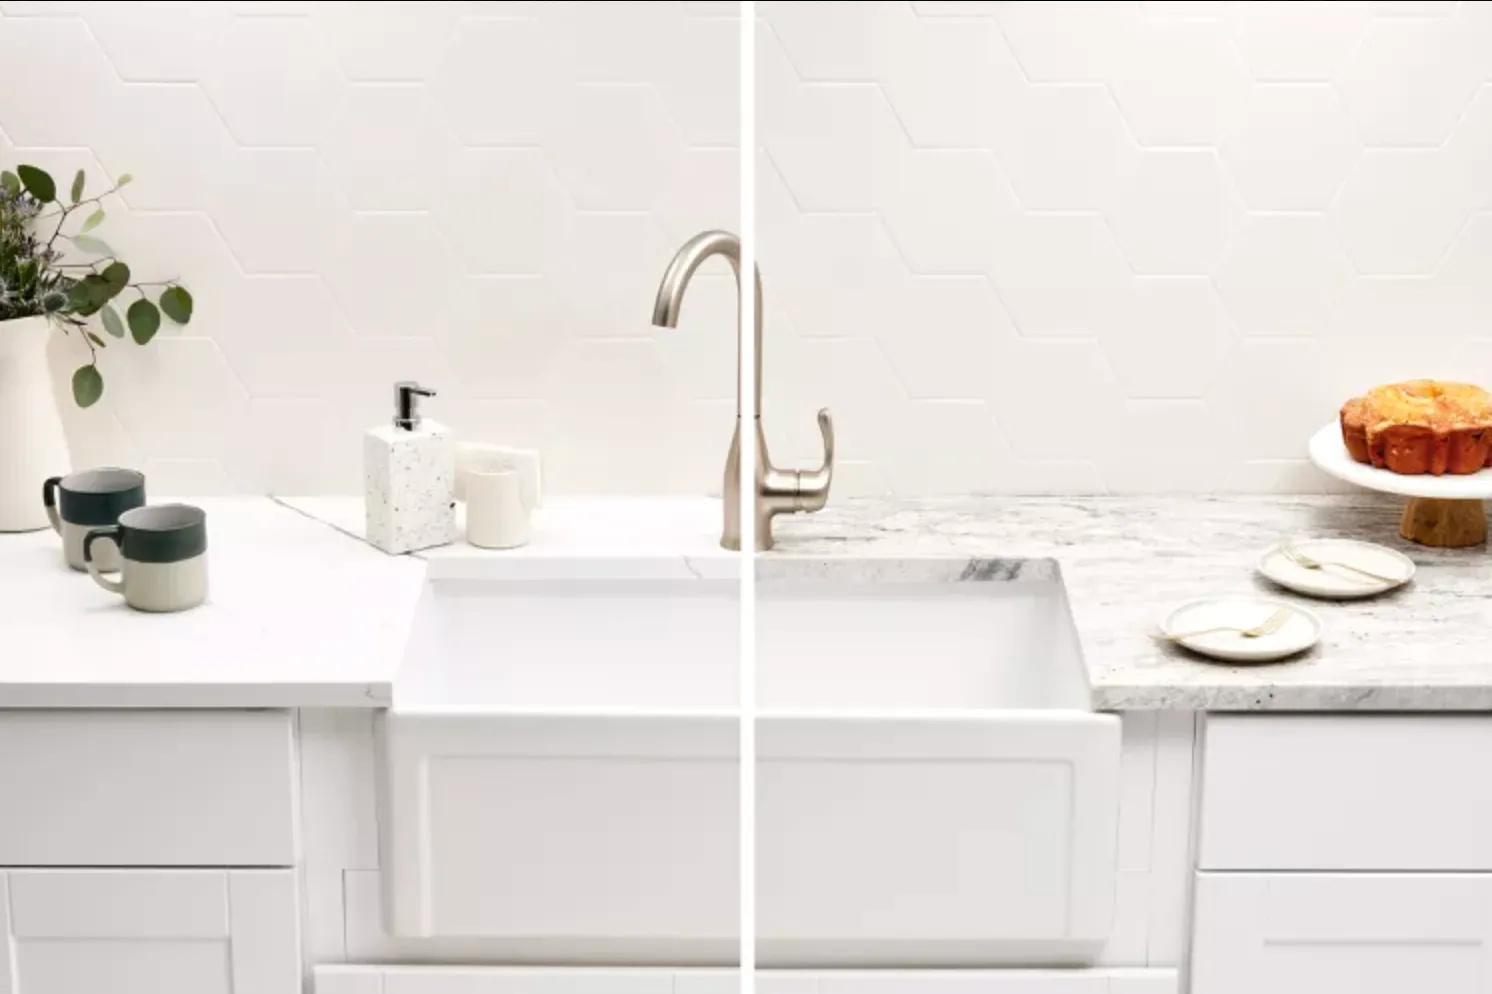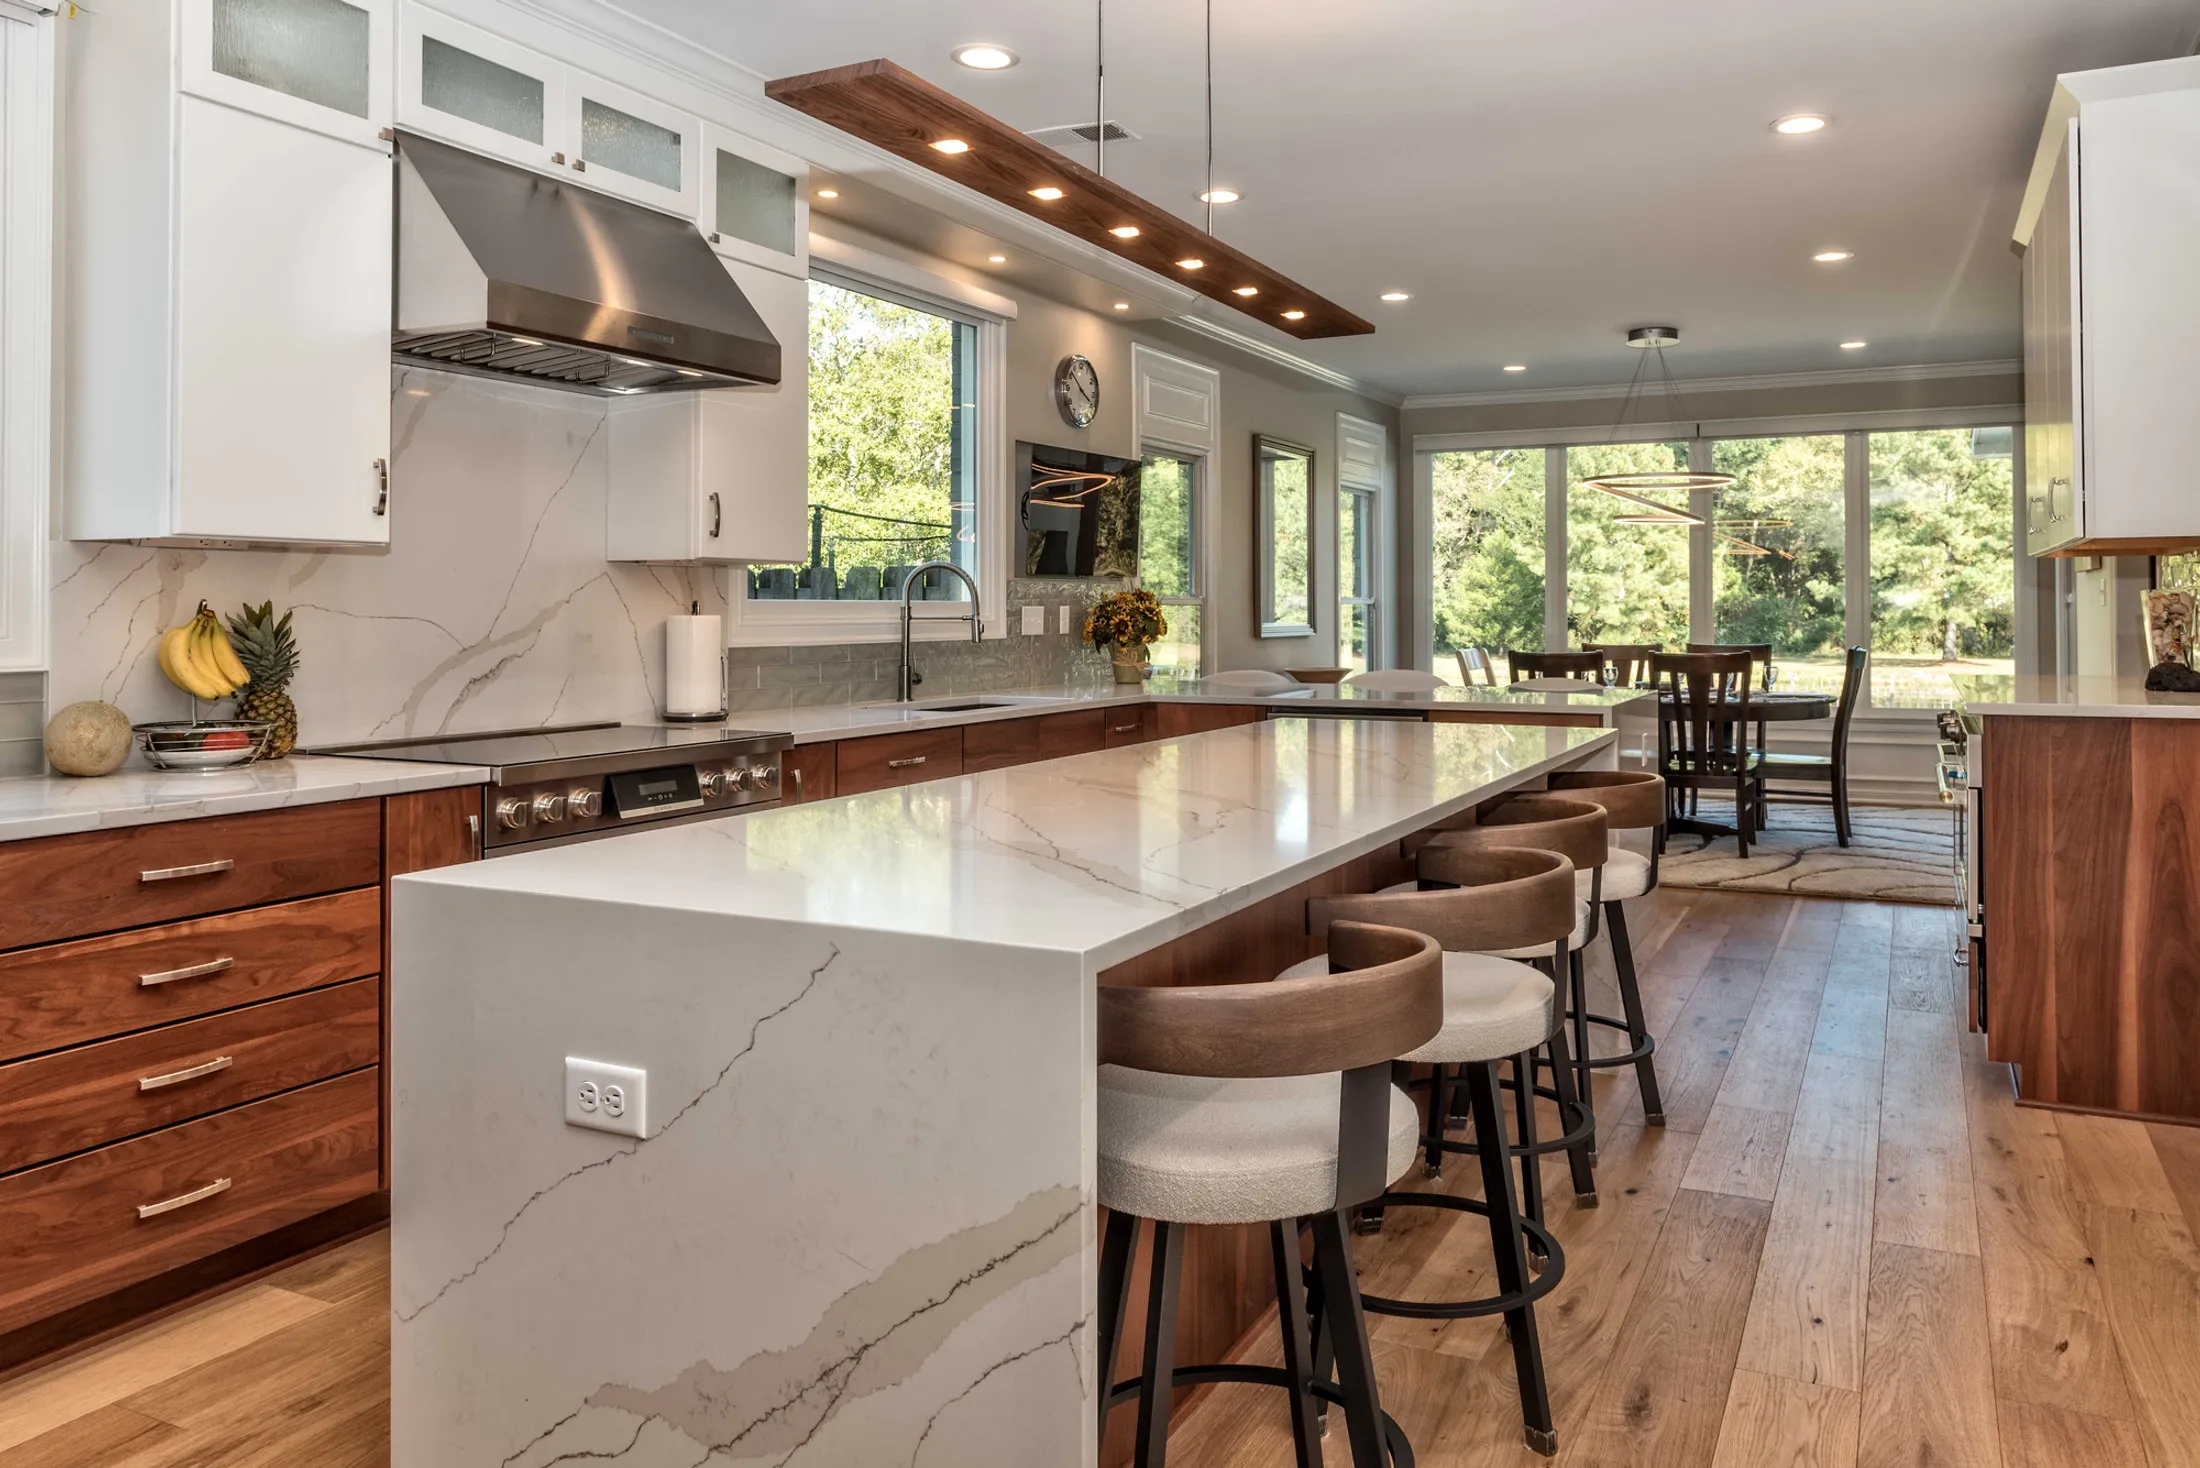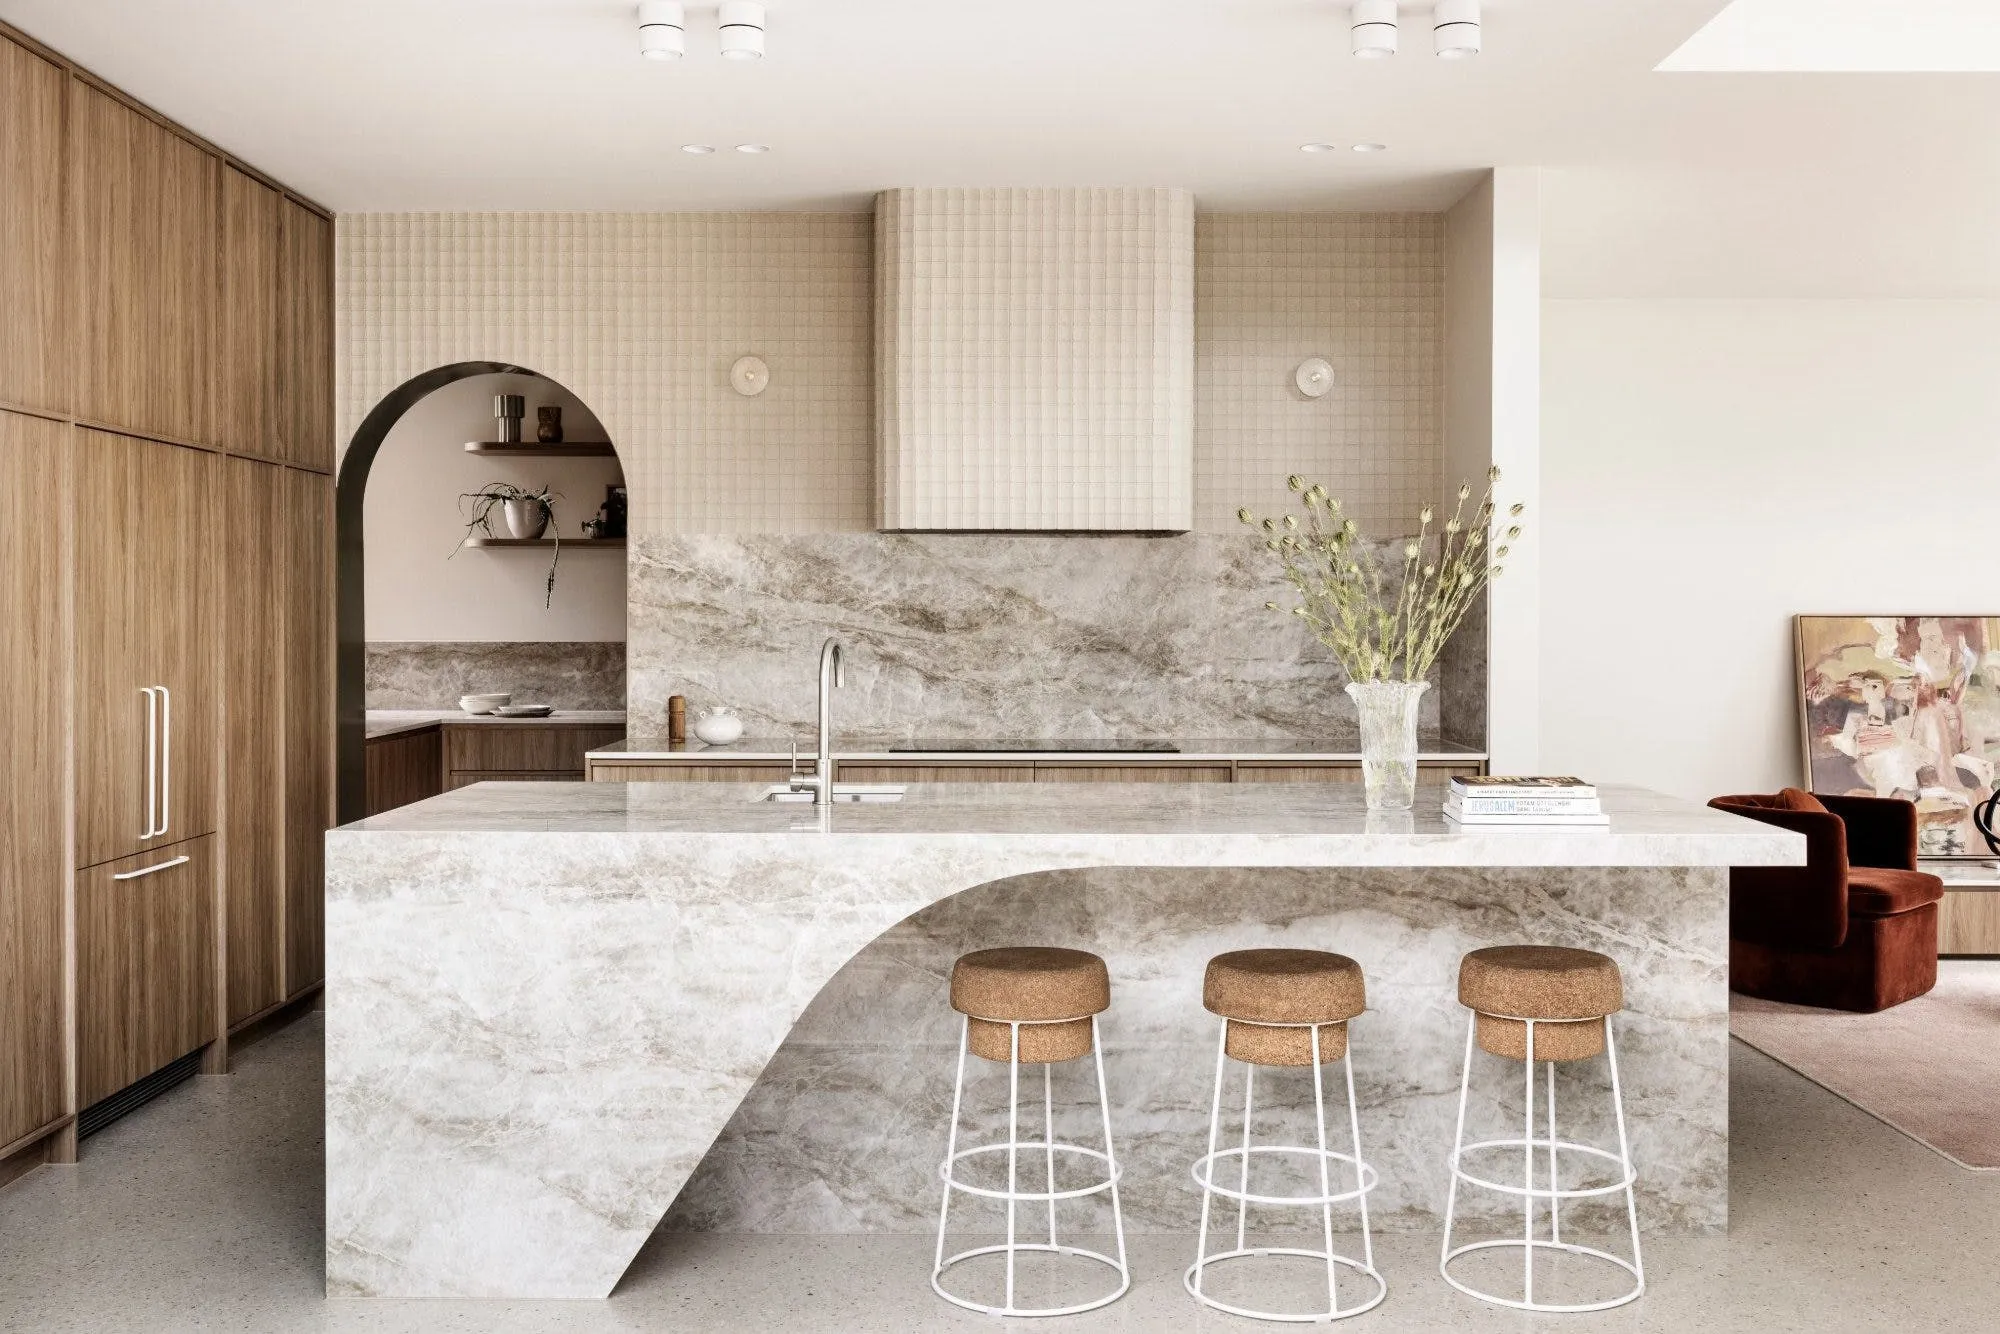
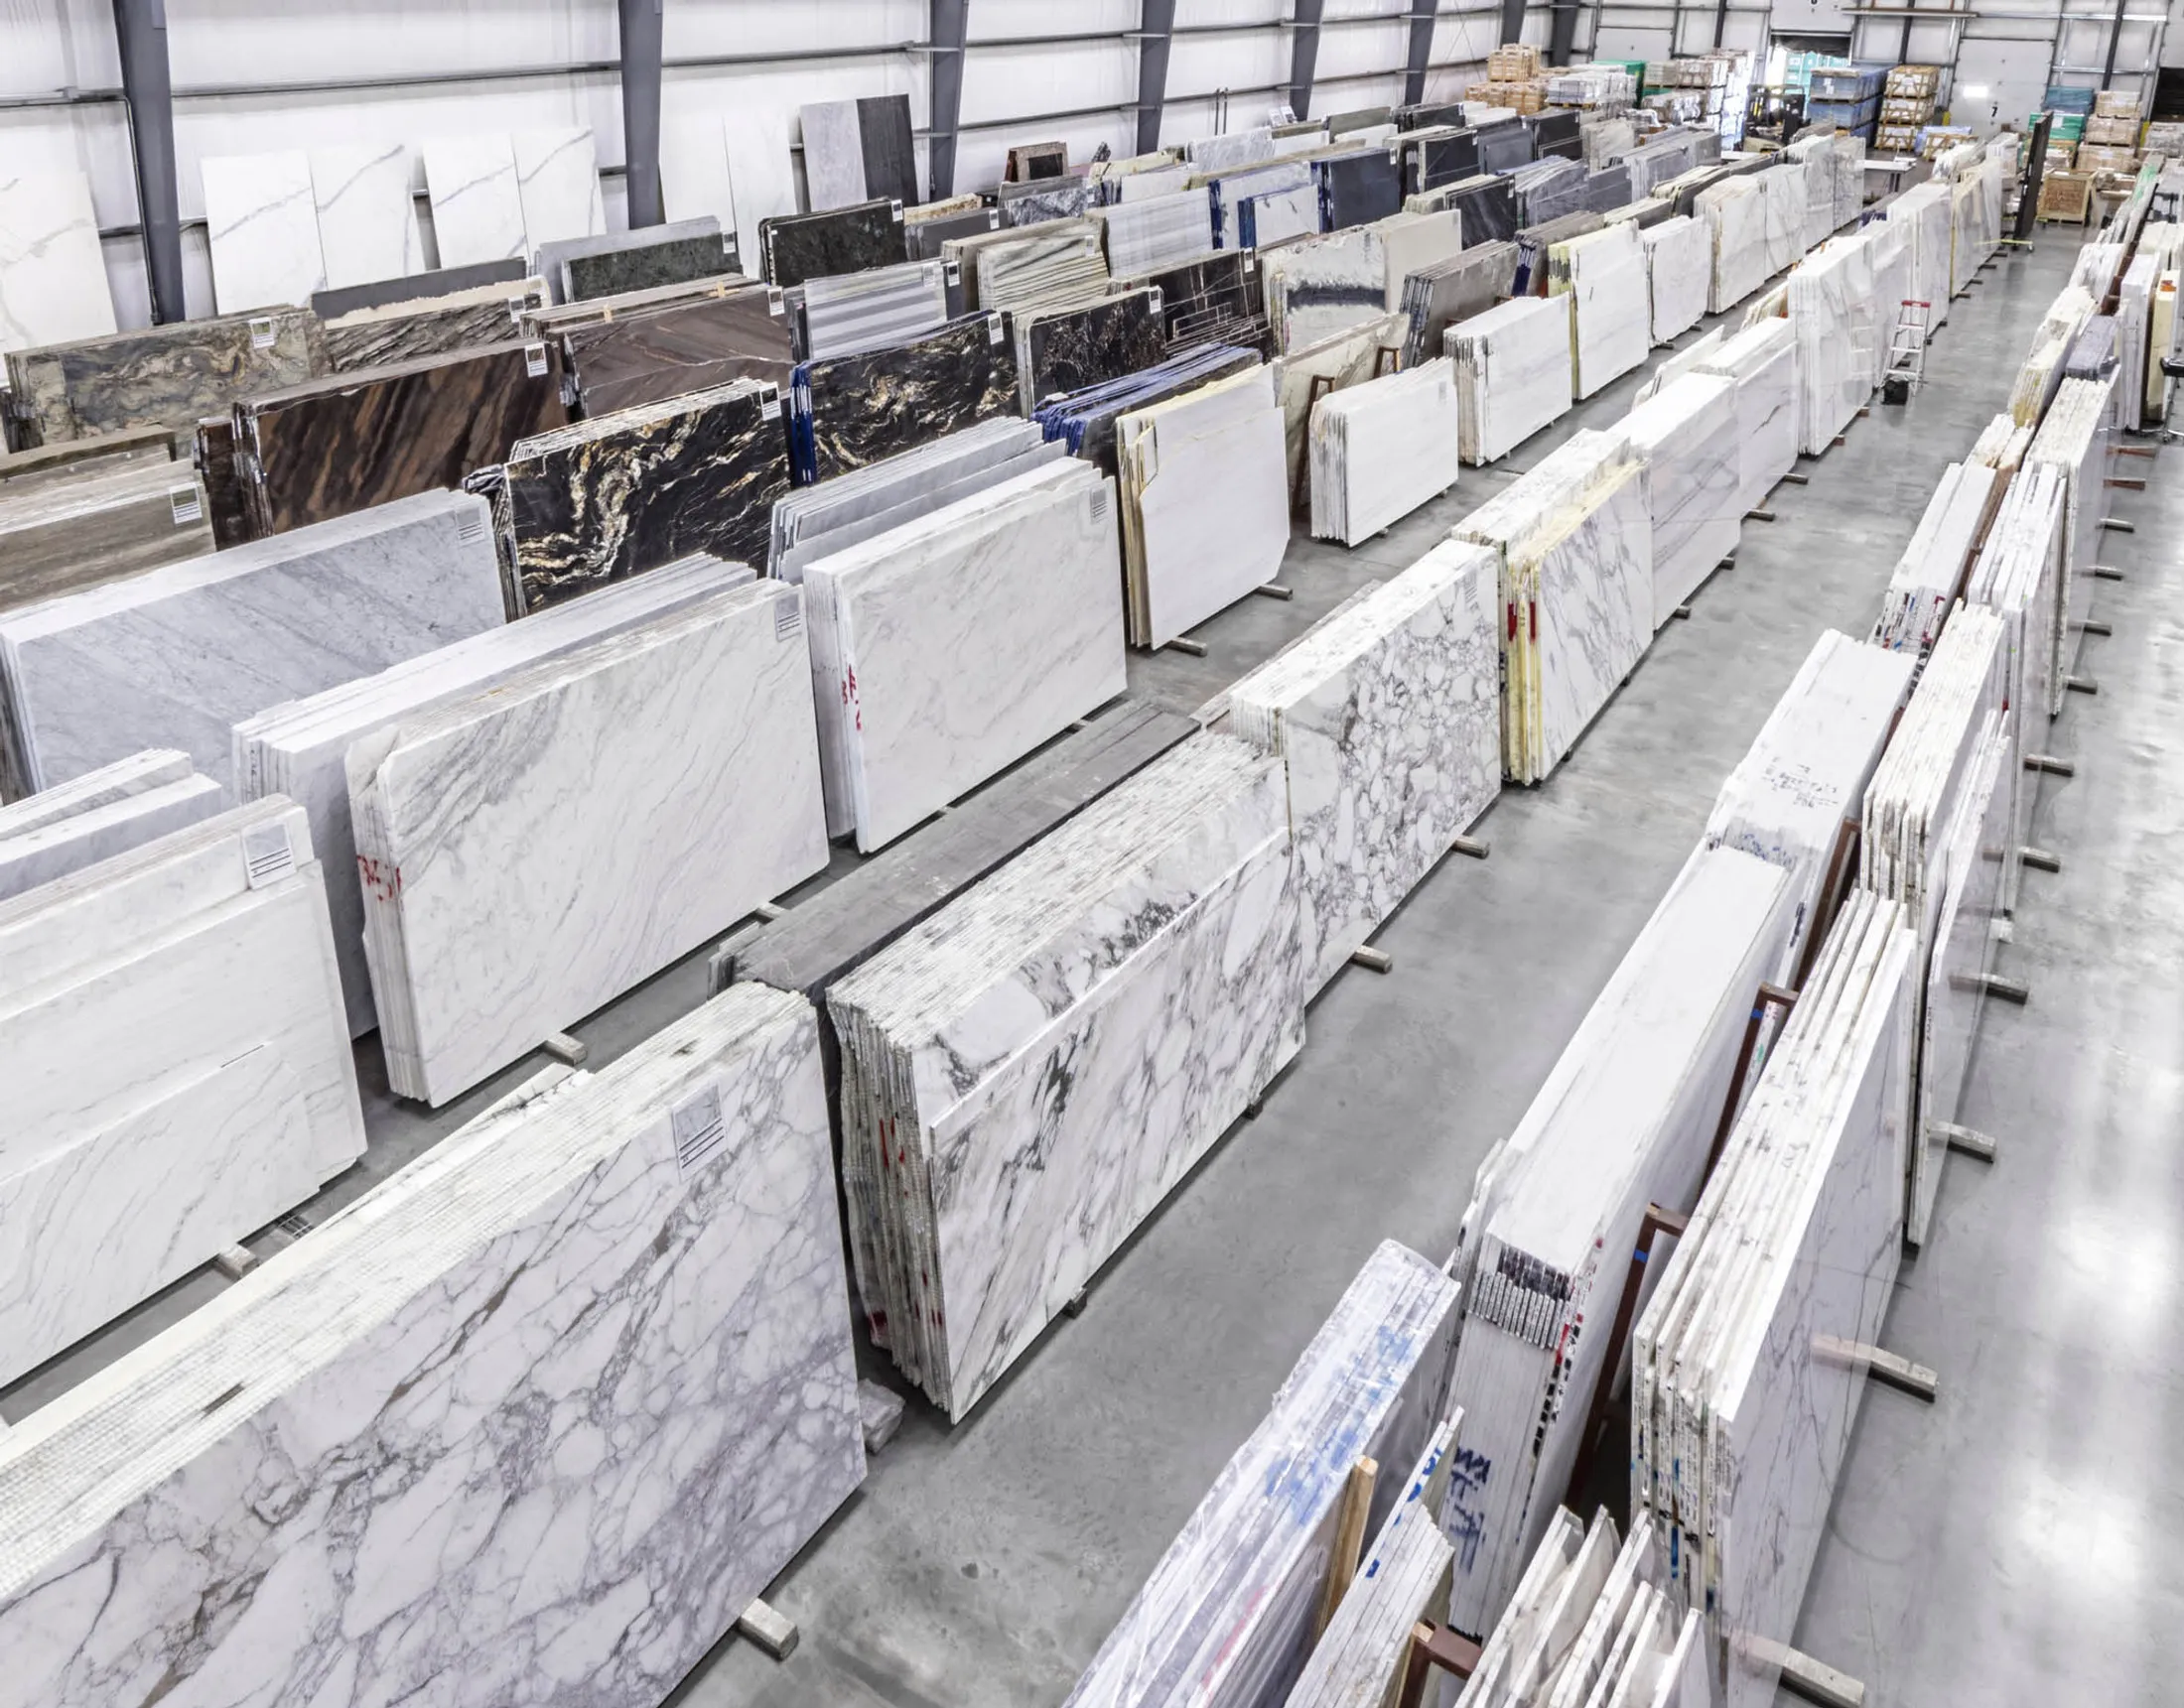
To choose a slab at a stone gallery, bring what lets you judge it against your real kitchen: a layout with measurements, a cabinet door or colour sample, flooring and tile samples, photos of the room, and your sink and appliance details. Then look at each slab from a distance and up close, picture where the island and seams will fall, and ask about thickness, finish and how many slabs your layout needs.
A countertop sample shows you colour. A full slab shows you everything else: how the veins move, how the pattern changes from one end to the other, and how that pattern will look stretched across a three-metre island. That’s why we keep a 10,000 sq ft stone gallery of full slabs and remnants at our Kitchener head office, and why we encourage homeowners from Waterloo, Cambridge and Guelph to see the real thing before they commit.
Why the actual slab matters
With natural stone like granite, every slab is different. Two slabs with the same colour name can vary in background tone, crystal size and veining. Even engineered quartz can vary slightly between production batches, and veined patterns shift across the length of a slab.
Seeing the actual slab means fewer surprises on installation day. You’ll know if a slab has a heavy vein running through one end, a cluster of darker minerals, or a section you’d rather keep off the island.
Before you go
Start online. Our Stone Gallery inventory lists the full slabs and remnants we have in stock, sourced from top Canadian and international suppliers. Shortlist a few colours so your visit is focused.
It also helps to narrow down the material first:
- Quartz for consistent colour and low maintenance
- Granite for natural variation and good heat tolerance
- Porcelain for large formats, thin profiles and heat resistance
If you’re torn between natural and engineered stone, read quartz vs quartzite: what’s the difference and our comparison of granite vs quartz for Southwestern Ontario homes.
What to bring
- A floor plan or cabinet drawing with measurements, including the island
- A cabinet door, or at least a colour chip or a good photo of one
- Flooring and backsplash tile samples
- A paint swatch for the walls
- Photos of the room in daylight and in the evening
- Sink, faucet and cooktop details
- Inspiration photos of kitchens you like
- A list of every area you’re doing: perimeter, island, vanities, backsplash, fireplace
- Your phone, for photos of slabs and their labels
- Everyone who gets a vote
That last item matters more than people expect. Choosing alone and bringing a partner back later often means a second trip, and in-stock slabs can be spoken for in the meantime.
How to look at a slab
Step back first
Stand a few metres away and take in the whole slab. That’s how you’ll see your countertop most of the time, from across the room. Does the overall colour work with your cabinet sample? Is the pattern calm or busy?
Then look up close
Move in and study the surface. With natural stone you’ll see features like fissures, small pits and mineral spots. Most are normal characteristics of the stone rather than defects, but ask our team about anything that concerns you.
Picture the layout
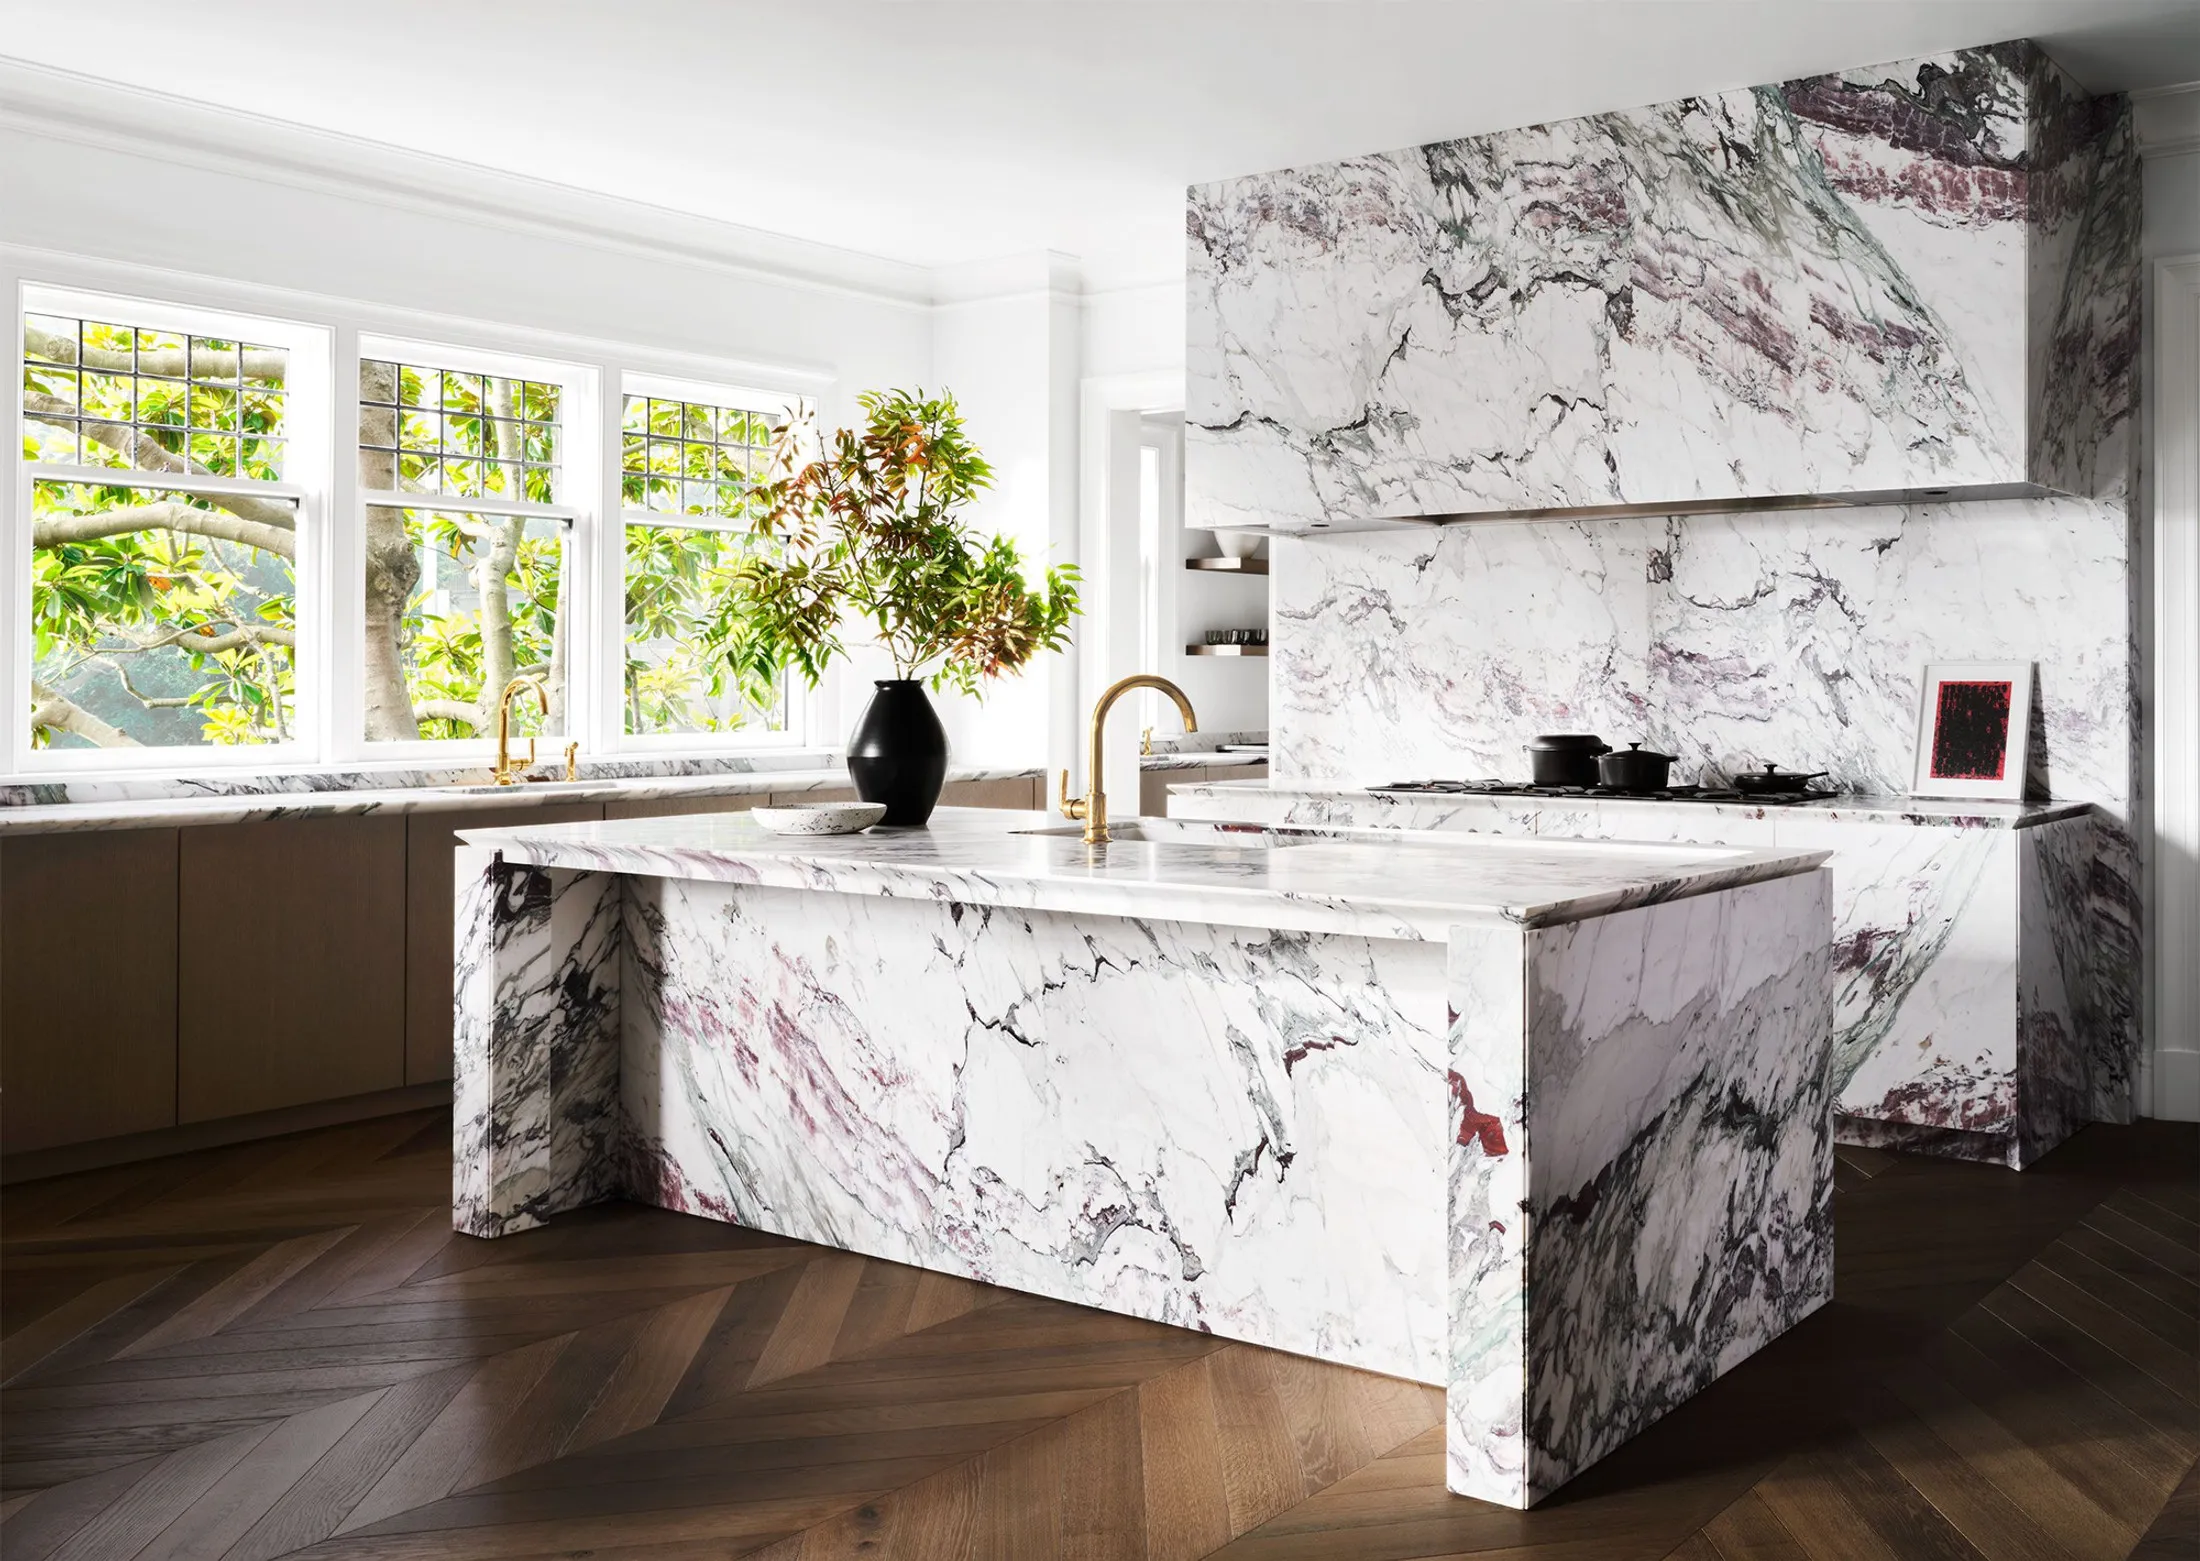
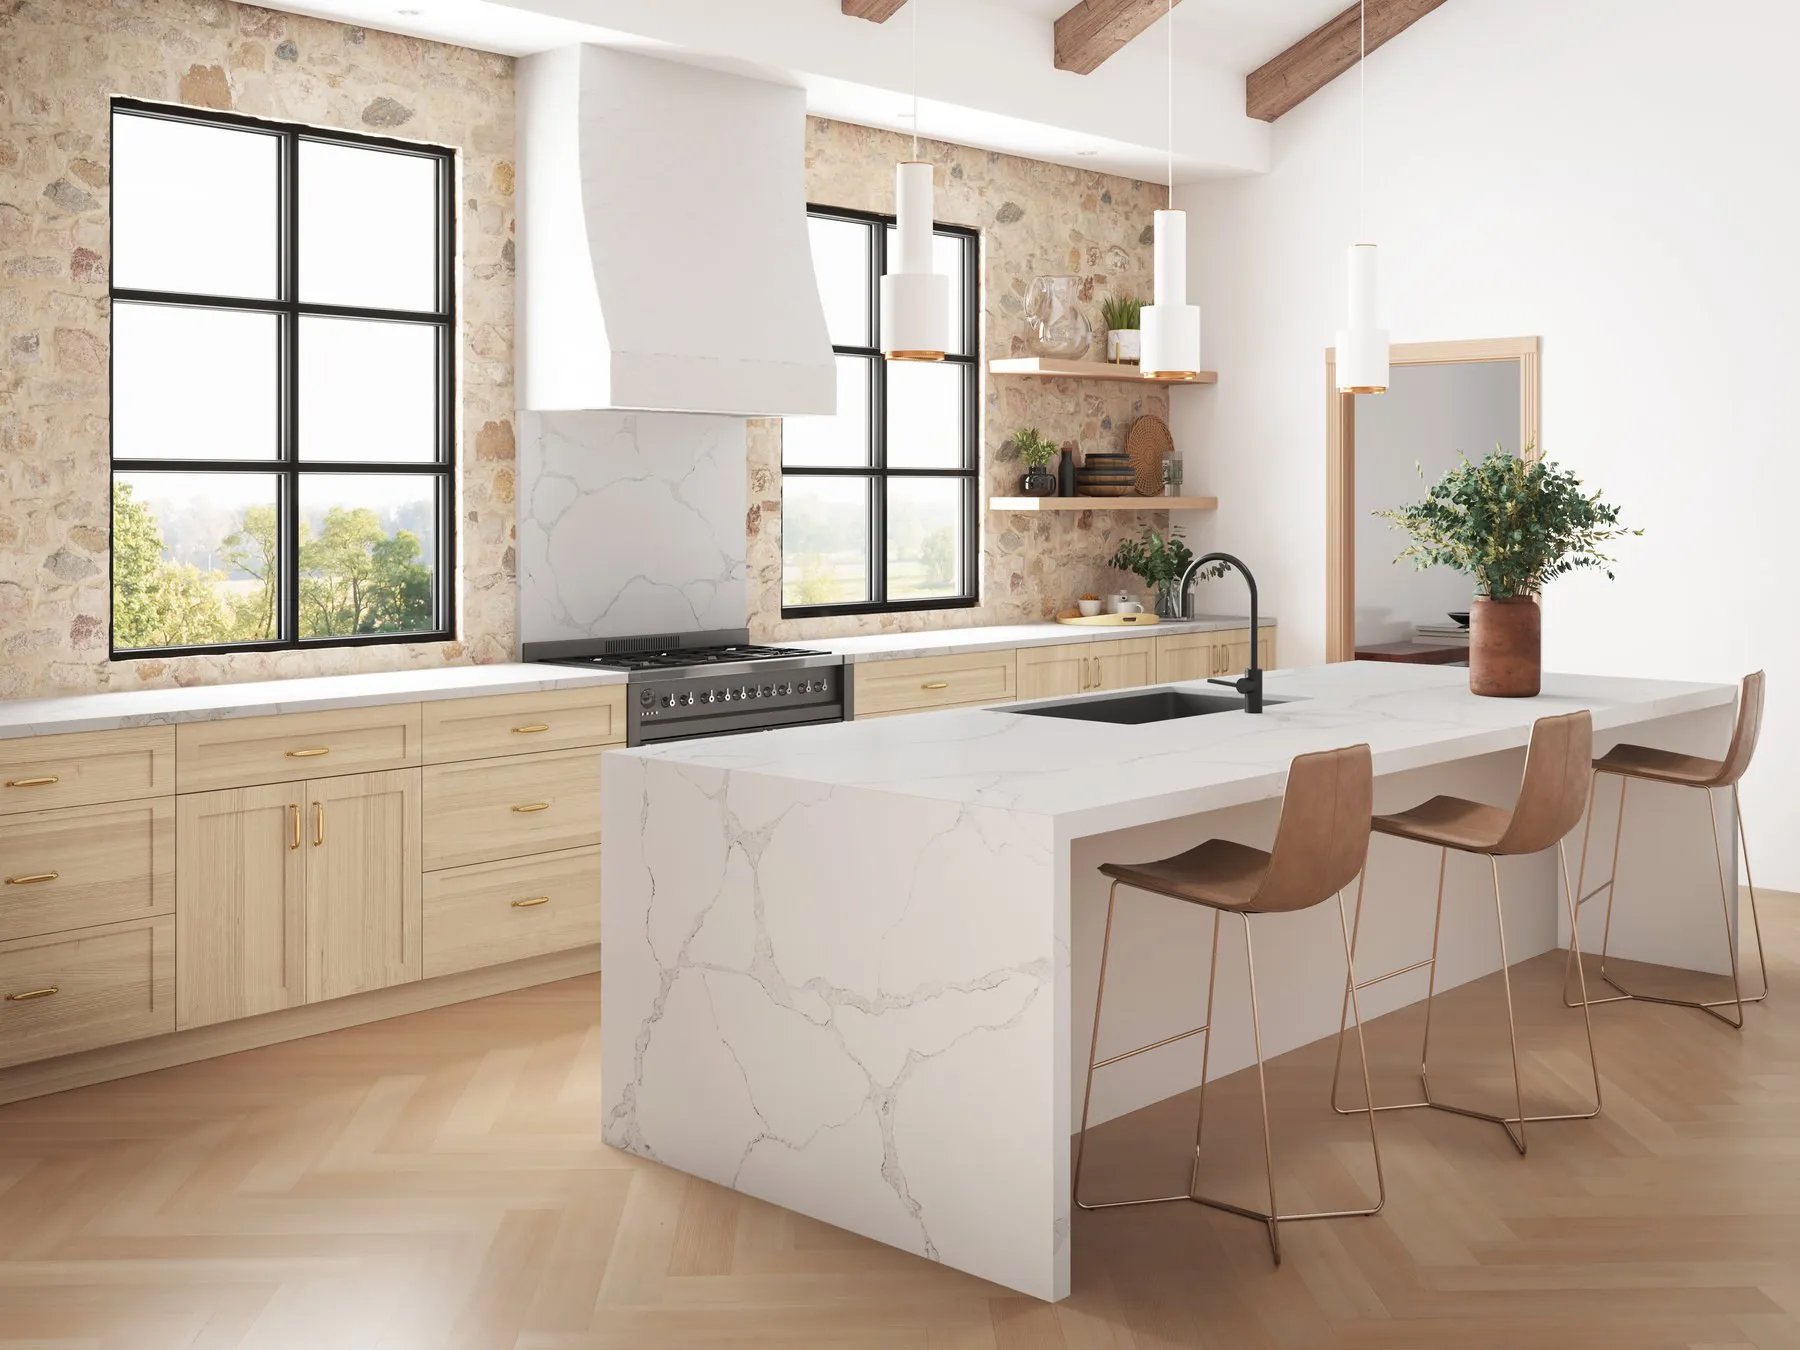
Think about where your pieces will come from. Where’s the best section of pattern? Should a dramatic vein run along the island, or stay off it? Where would a seam fall? Ask how your templates will be laid out on the slab before anything is cut, especially if you’re planning a waterfall island or full-height backsplash.
Check the light
Gallery lighting isn’t your kitchen lighting. Hold your cabinet door and flooring samples against the slab and take photos. If a sample of the material is available, look at it at home under your own lights, morning and evening.
Look at the edge
The edge of a slab hints at what a finished edge will look like. With quartz and granite, the colour runs through the slab. Many porcelain slabs carry the pattern on the surface only, so the edge can show a different colour. That affects which edge profiles will look right.
Questions to ask at the gallery
- What thickness is this slab, and does it also come in the other? (See 2 cm vs 3 cm countertops.)
- What finishes does it come in: polished, honed or textured?
- How many slabs will my layout need?
- Where will the seams go?
- Is the slab big enough for my island in one piece?
- What care does this material need?
- Could a remnant cover my vanity or laundry room?
- Can this slab be set aside while I finalize my quote?
How many slabs you’ll need
Slab count depends on your layout, the slab dimensions and the features you’ve chosen. A modest L-shaped kitchen may fit on one slab, while a large island with waterfall ends and a slab backsplash can take several. Some homeowners choose one slab for the island and a different, quieter one for the perimeter.
If you’re buying more than one slab of natural stone, look at them side by side. Slabs from the same lot tend to match each other more closely than slabs from different lots, and you want the colour to carry across the room.
Kitchener gallery and Guelph showroom
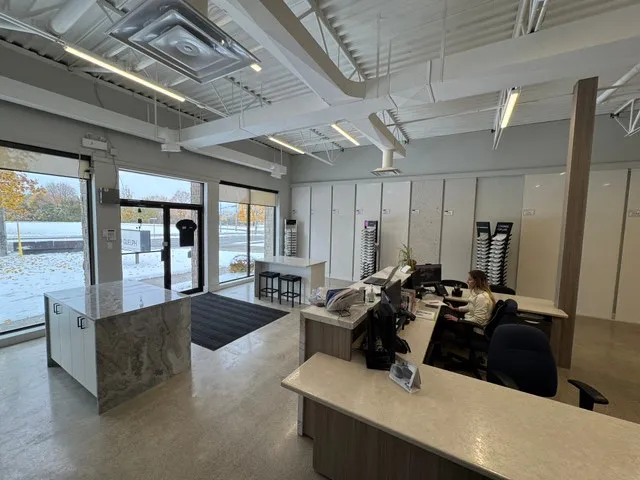
The stone gallery is at our Kitchener location, alongside our showroom and head office, and it holds the region’s largest selection of full slabs and remnants. Our Guelph showroom is another place to see materials and talk through your project with our team. There’s no showroom in Waterloo or Cambridge, but the Kitchener gallery is close by for both. You can read more about our work for homeowners in Cambridge and Waterloo.
After you choose
Once you’ve picked a slab, the rest follows a set path: a quote, precise digital laser templating in your home, fabrication in our own Kitchener production facility, and installation by our trained in-house crew. Our guide on preparing for templating and installation day explains what to have ready at each stage.
Start by browsing the online Stone Gallery and shortlisting a few slabs, then book a visit so our team can walk you through them in person.