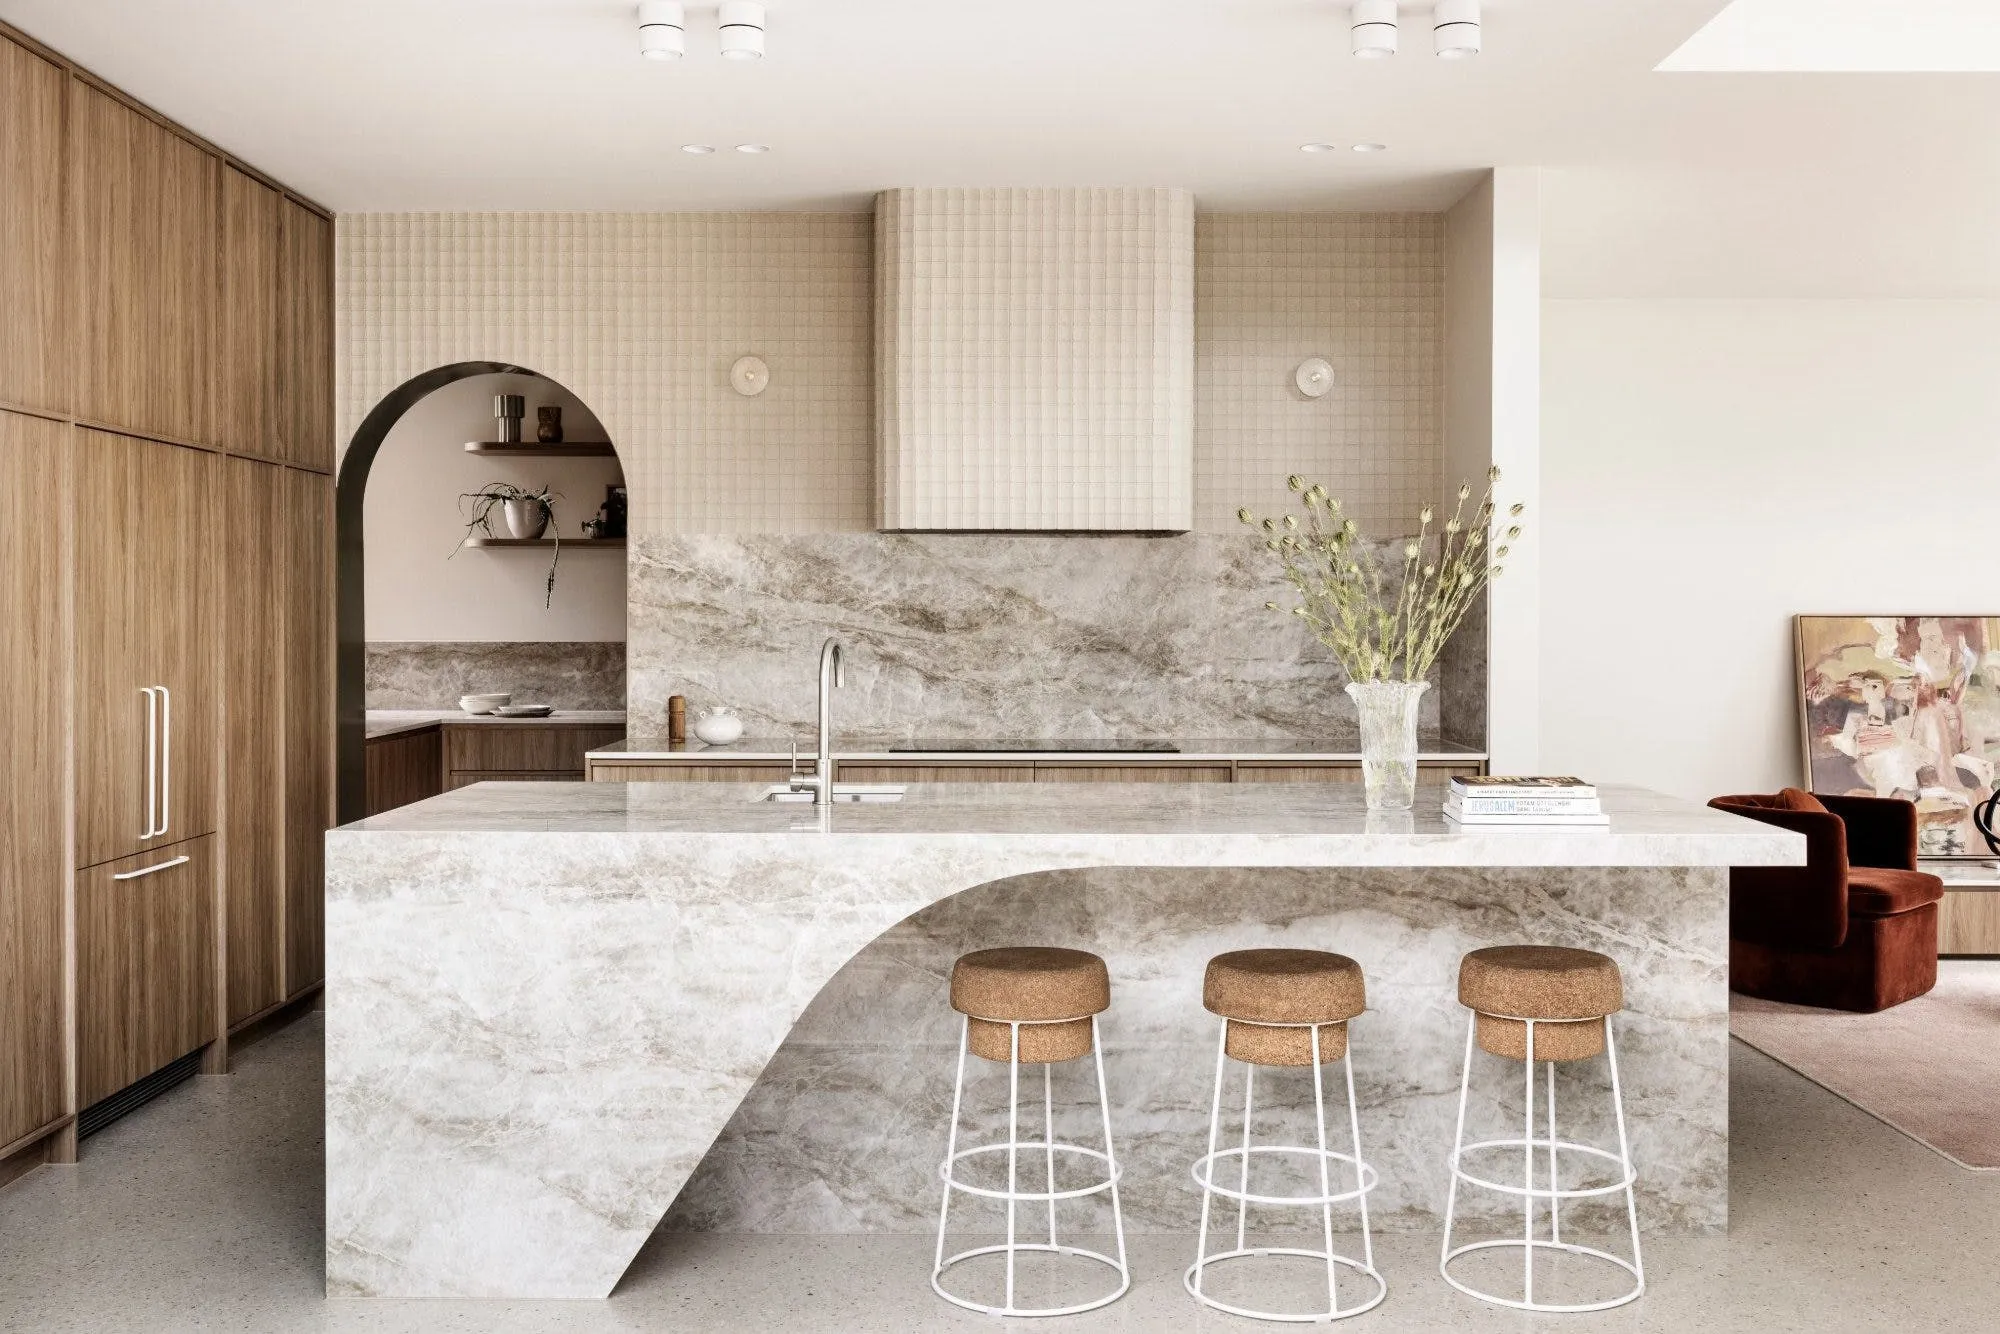
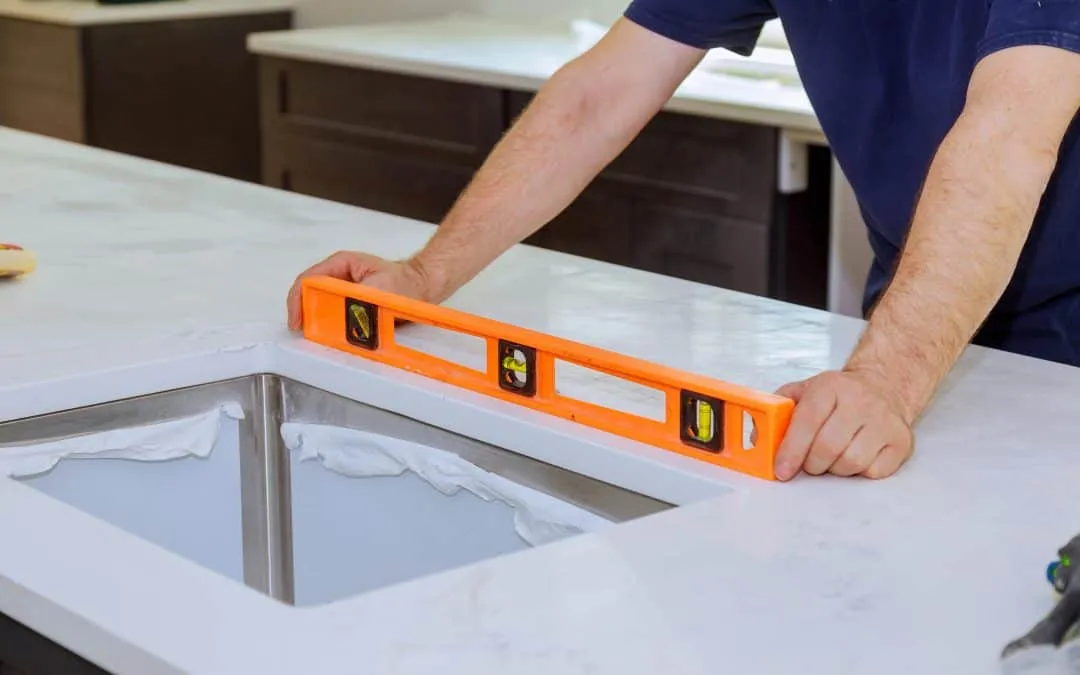
The short answer: get your kitchen to the point where nothing under the countertop will change, then clear the way for the crew. For templating, that means cabinets installed, levelled and fastened, with your sink, faucet and cooktop chosen and on site (or the exact model numbers in hand). For installation day, it means empty counters, an empty sink cabinet, a clear path from the door to the kitchen, and a plan for the plumbing.
Most delays on countertop jobs don’t come from fabrication. They come from a cabinet that wasn’t fastened, a sink that changed after measuring, or a hallway full of boxes on install day. The checklists below are the same advice we give homeowners across Kitchener, Waterloo, Cambridge and Guelph, whether they’re replacing old tops or finishing a brand-new kitchen.
Why templating needs a finished base
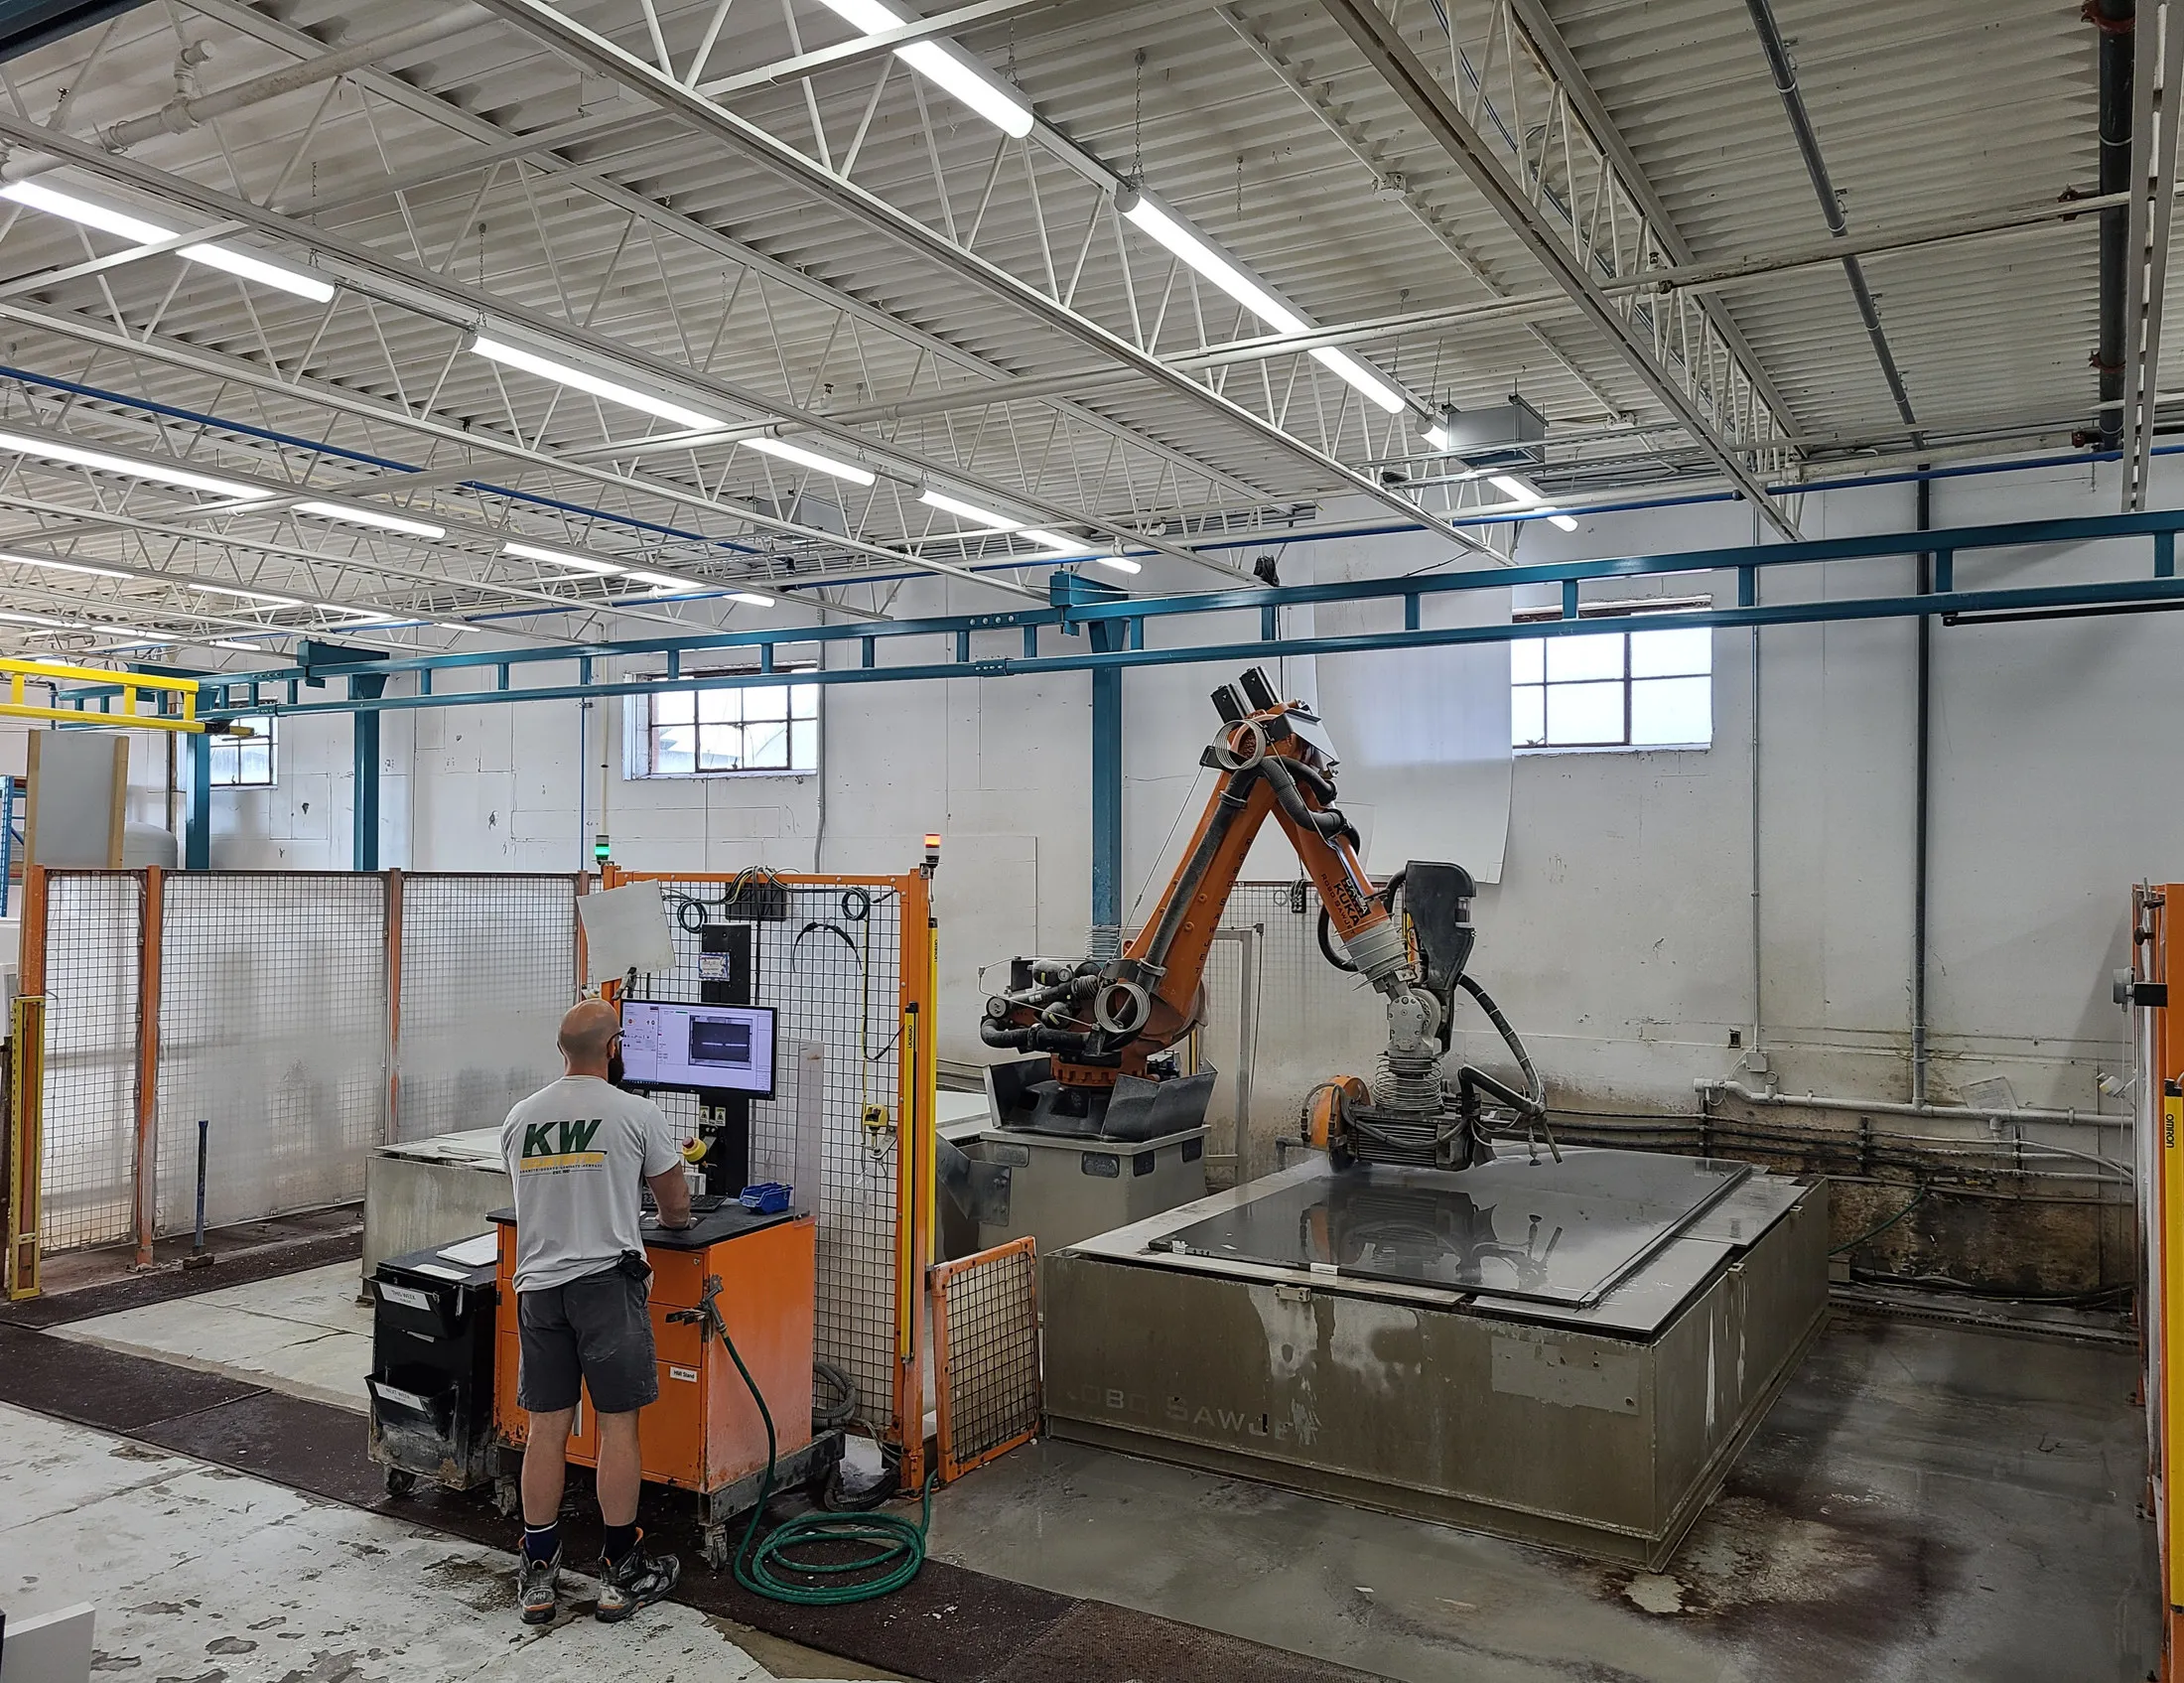
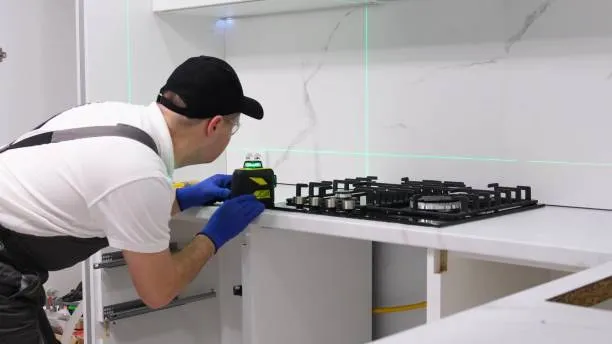
Templating is the visit where we measure for your countertop. At KW Countertop it’s done with precise digital laser templating, which records the exact shape of your cabinets, walls and corners, including walls that aren’t square (common in older homes). That digital template goes to our own production facility in Kitchener, where the slab is cut to match it.
Because the template is taken from what’s in the room, anything that moves afterward can throw it off. A cabinet that shifts slightly, a filler panel added later, or a dishwasher that ends up in a different spot can mean the countertop no longer fits. The goal is simple: on templating day, the base should look exactly the way it will on installation day.
Before templating: a checklist
Work through this list in the days before your templating appointment:
- Cabinets installed and fastened. Base cabinets should be set, levelled, screwed together and secured to the wall. Islands should be anchored to the floor.
- End panels and fillers in place. Decorative panels, dishwasher panels and fillers change the finished dimensions, so they need to be on before we measure.
- Sink on site, or the exact model. For an undermount sink, the cut-out is made for that specific sink. Have it in the house (still in the box is fine) or have the make and model number ready.
- Faucet and accessories chosen. Know how many holes you need: faucet, soap dispenser, filtered water tap, air gap or anything else.
- Cooktop or range details. A drop-in cooktop needs its cut-out specifications. A slide-in range needs its exact width and a plan for how it meets the countertop.
- Design decisions made. Edge profile, seating overhangs, backsplash height and whether you’re adding a waterfall island or full-height backsplash all affect the template. If you’re still deciding on an edge, our guide to countertop edge profiles can help.
- Clear access. Move anything stored around the kitchen so the technician can reach every wall and corner.
- A decision-maker at home. Someone who can answer questions about seams, overhangs and sink position should be there for the whole visit.
If you’re replacing existing countertops, ask whether templating happens with the old tops still in place and what’s expected of you beforehand. Your project coordinator will confirm this when you book.
What happens during the visit
The technician sets up the laser templating equipment, captures the cabinets and walls, and checks the details with you: where seams will fall, how far overhangs extend, exactly where the sink sits and how the countertop finishes against appliances and walls. This is the best time to raise anything you’re unsure about. A question answered at templating is easy. A change after fabrication has started is a different story.
Between templating and installation
Once the template is taken, your countertops go into fabrication. Everything is cut and finished in our Kitchener facility, so we control the schedule from slab to install. When decisions are made and the site is ready, a project can go from vision to installation in as little as one week. You can follow each stage in the complete process from fabrication to installation.
While you wait:
- Leave the base alone. Don’t move or adjust cabinets, and don’t change the sink, faucet or cooktop. If something has to change, call us right away so we can tell you whether it affects the template.
- Book your other trades. If a plumber is reconnecting the sink, faucet and dishwasher, schedule them for after the install. Confirm with us when you book who handles disconnecting and reconnecting the plumbing, so nobody assumes the other person is doing it.
- Hold off on tile. Backsplash tile goes in after the countertop so it can sit on the finished surface.
- Condo owners, book the building. Reserve the service elevator and loading area for install day and check your building’s renovation rules. Our post on countertop ideas for Kitchener condos covers a few more condo points.
Before installation day: a checklist
The day before the crew arrives:
- Empty the counters completely. Small appliances, dish racks, décor, everything.
- Empty the sink base cabinet and any cabinets directly under the areas being installed.
- Clear a path from the door the crew will use to the kitchen. Stone pieces are large and heavy, and installers need room to carry them in without turning tight corners around furniture.
- Leave the driveway open so the truck can park close to the door.
- In winter, shovel and salt the driveway and walkway. Ontario ice and a heavy slab are a bad combination.
- Keep pets and young children away from the work area for the day.
- Know where your water shut-offs are, both under the sink and the main valve.
- Ask about appliances. If a range or fridge needs to be pulled out, confirm when you book whether that’s part of the visit or something to arrange beforehand.

What to expect on installation day
Your countertops are installed by our own trained in-house crew. We never subcontract installation, so the people in your kitchen work for the same company that templated and fabricated your tops.
The crew brings the pieces in, sets them on the cabinets and checks level and fit. Small adjustments are sometimes made on site, so expect some noise and a little dust. Seams are joined and colour-matched, an undermount sink (if it’s part of your job) is secured to the underside of the stone, and the crew checks that everything lines up with your appliances and walls.
After the crew leaves, adhesives and silicone need time to cure. Your installer will tell you how long to wait before using the sink, reconnecting the plumbing or leaning on an overhang. Follow that advice even if the countertop looks finished.
After the install
Once the dust has settled, take a few minutes to look things over. Check the seams in good light, run a hand along the edges, and open the dishwasher and drawers to make sure nothing catches. If something isn’t right, call us. Our after-sales support doesn’t end when the truck pulls away, and small things are easier to sort out early.
For day-to-day cleaning, our countertop care guide covers quartz, granite, porcelain and laminate.
Still choosing a material? Browse the slabs in stock in our online Stone Gallery, or request a quote and we’ll walk you through booking your templating visit.